Project description

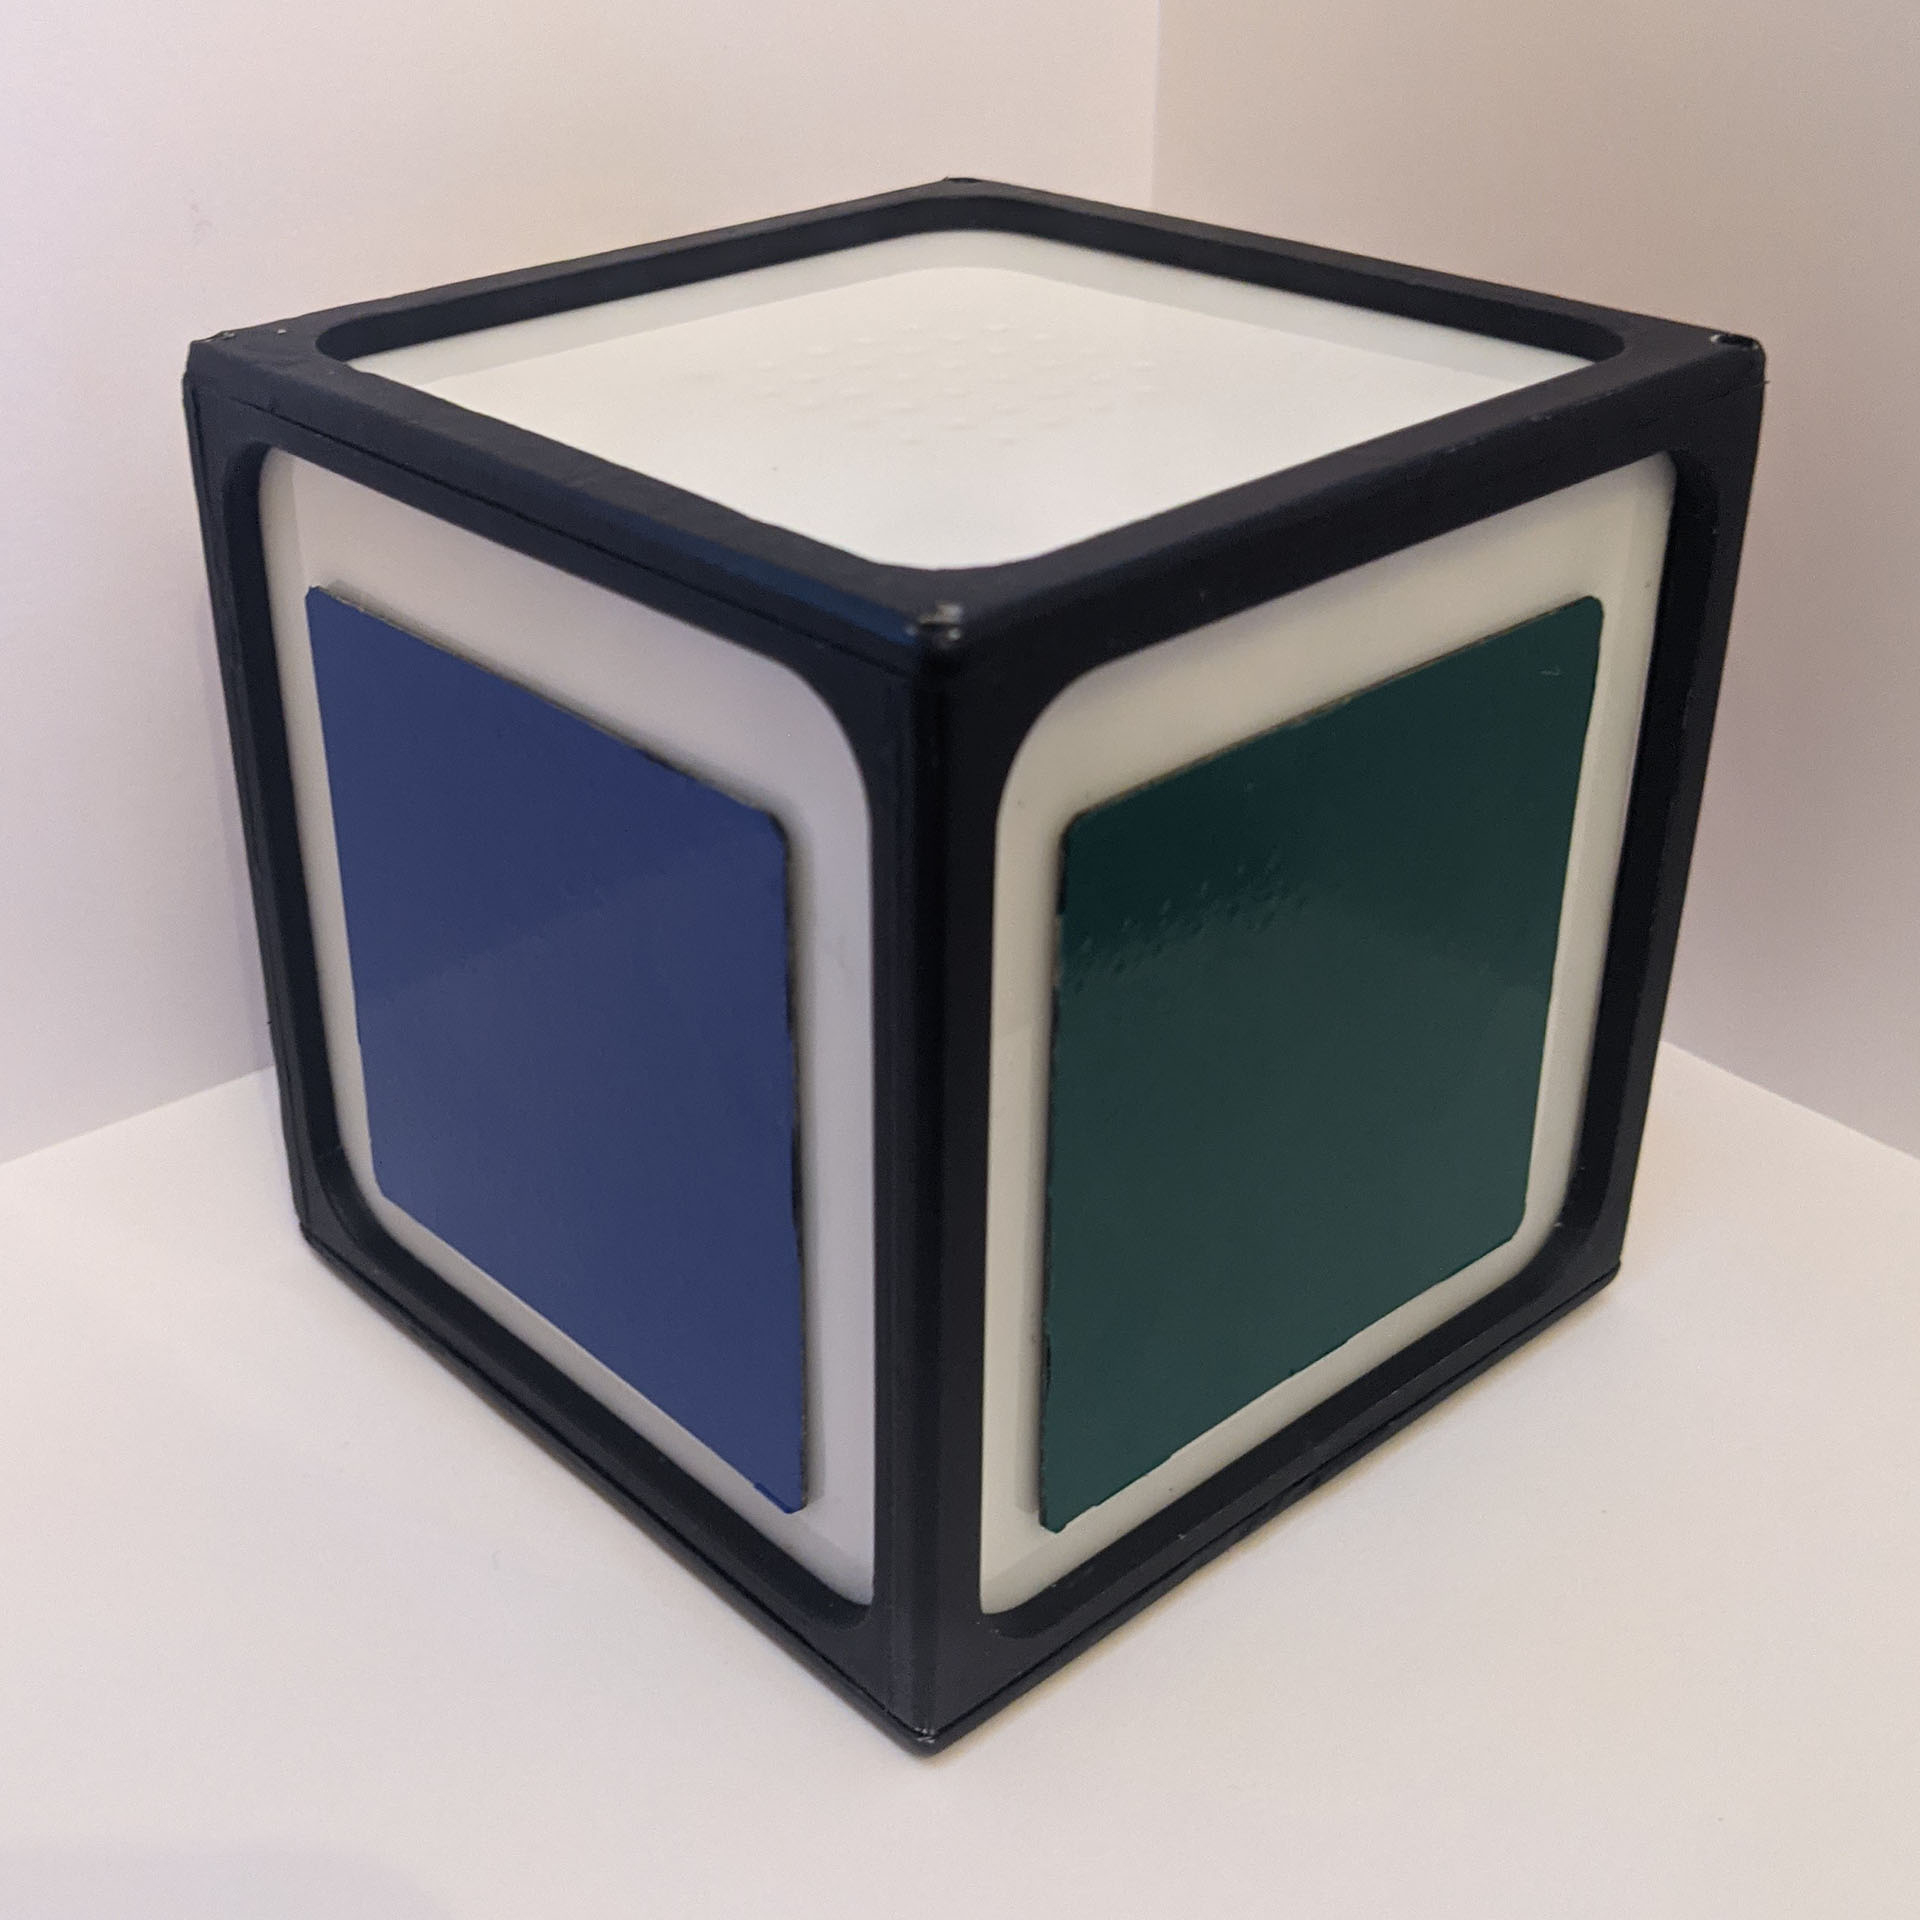
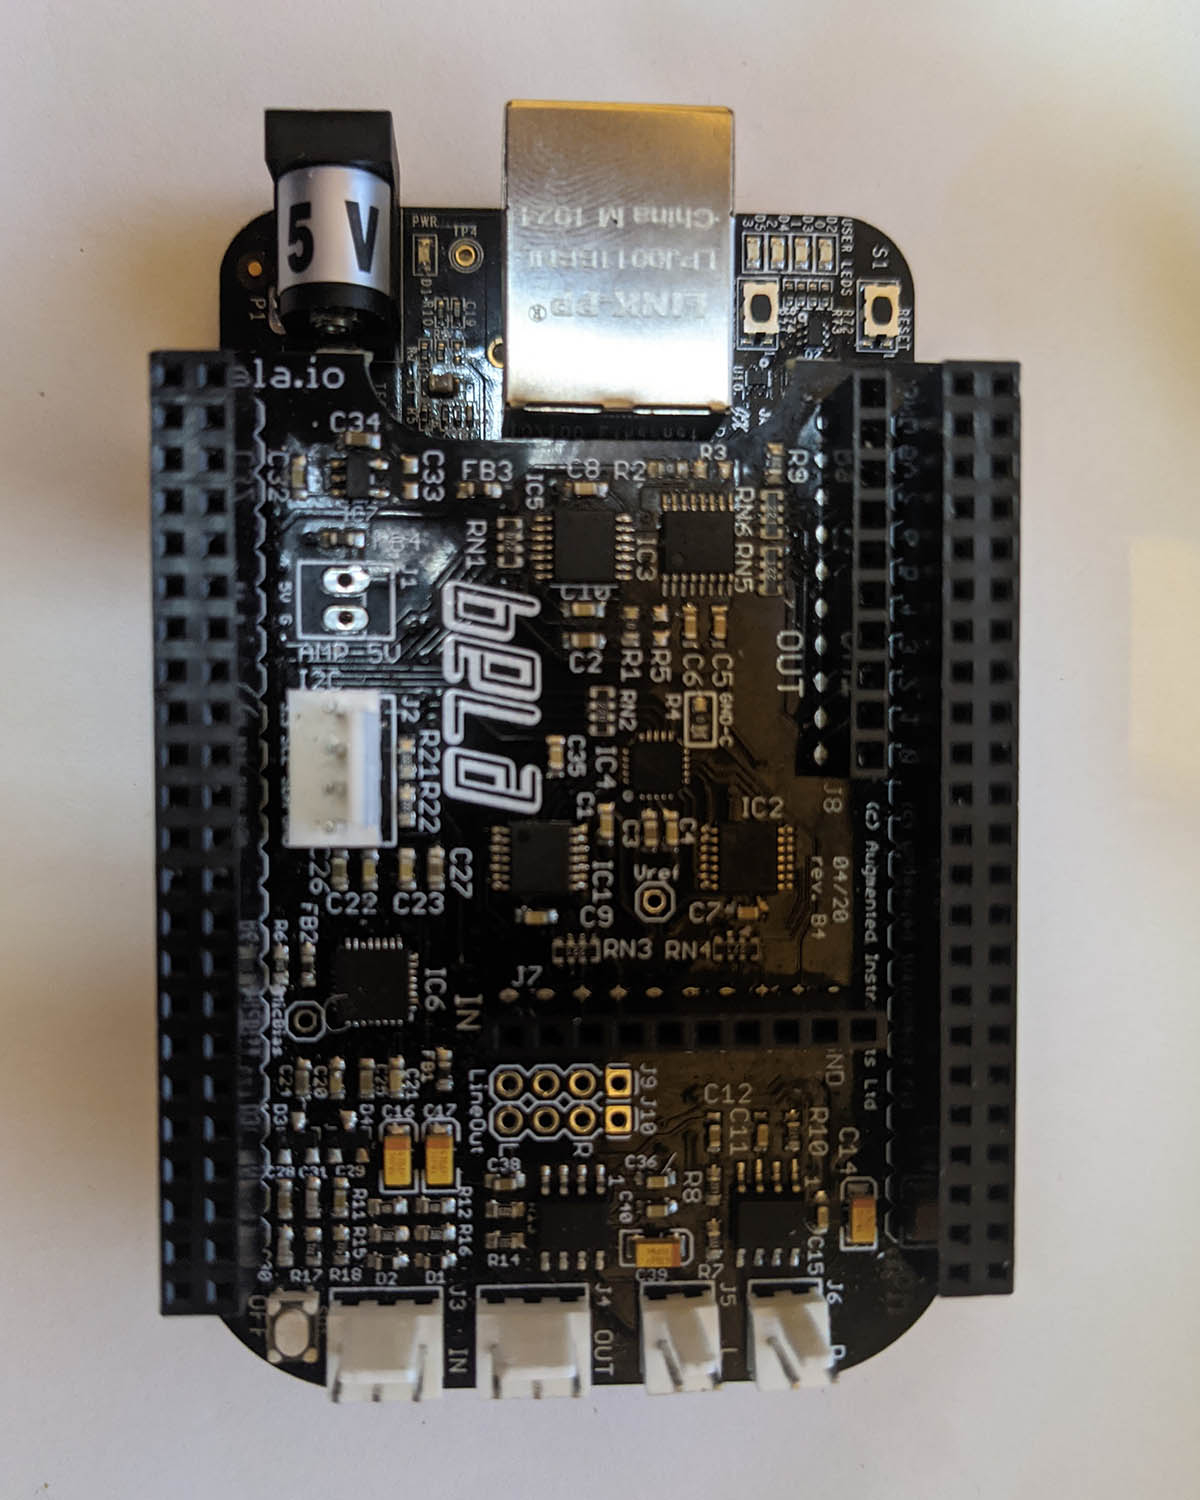
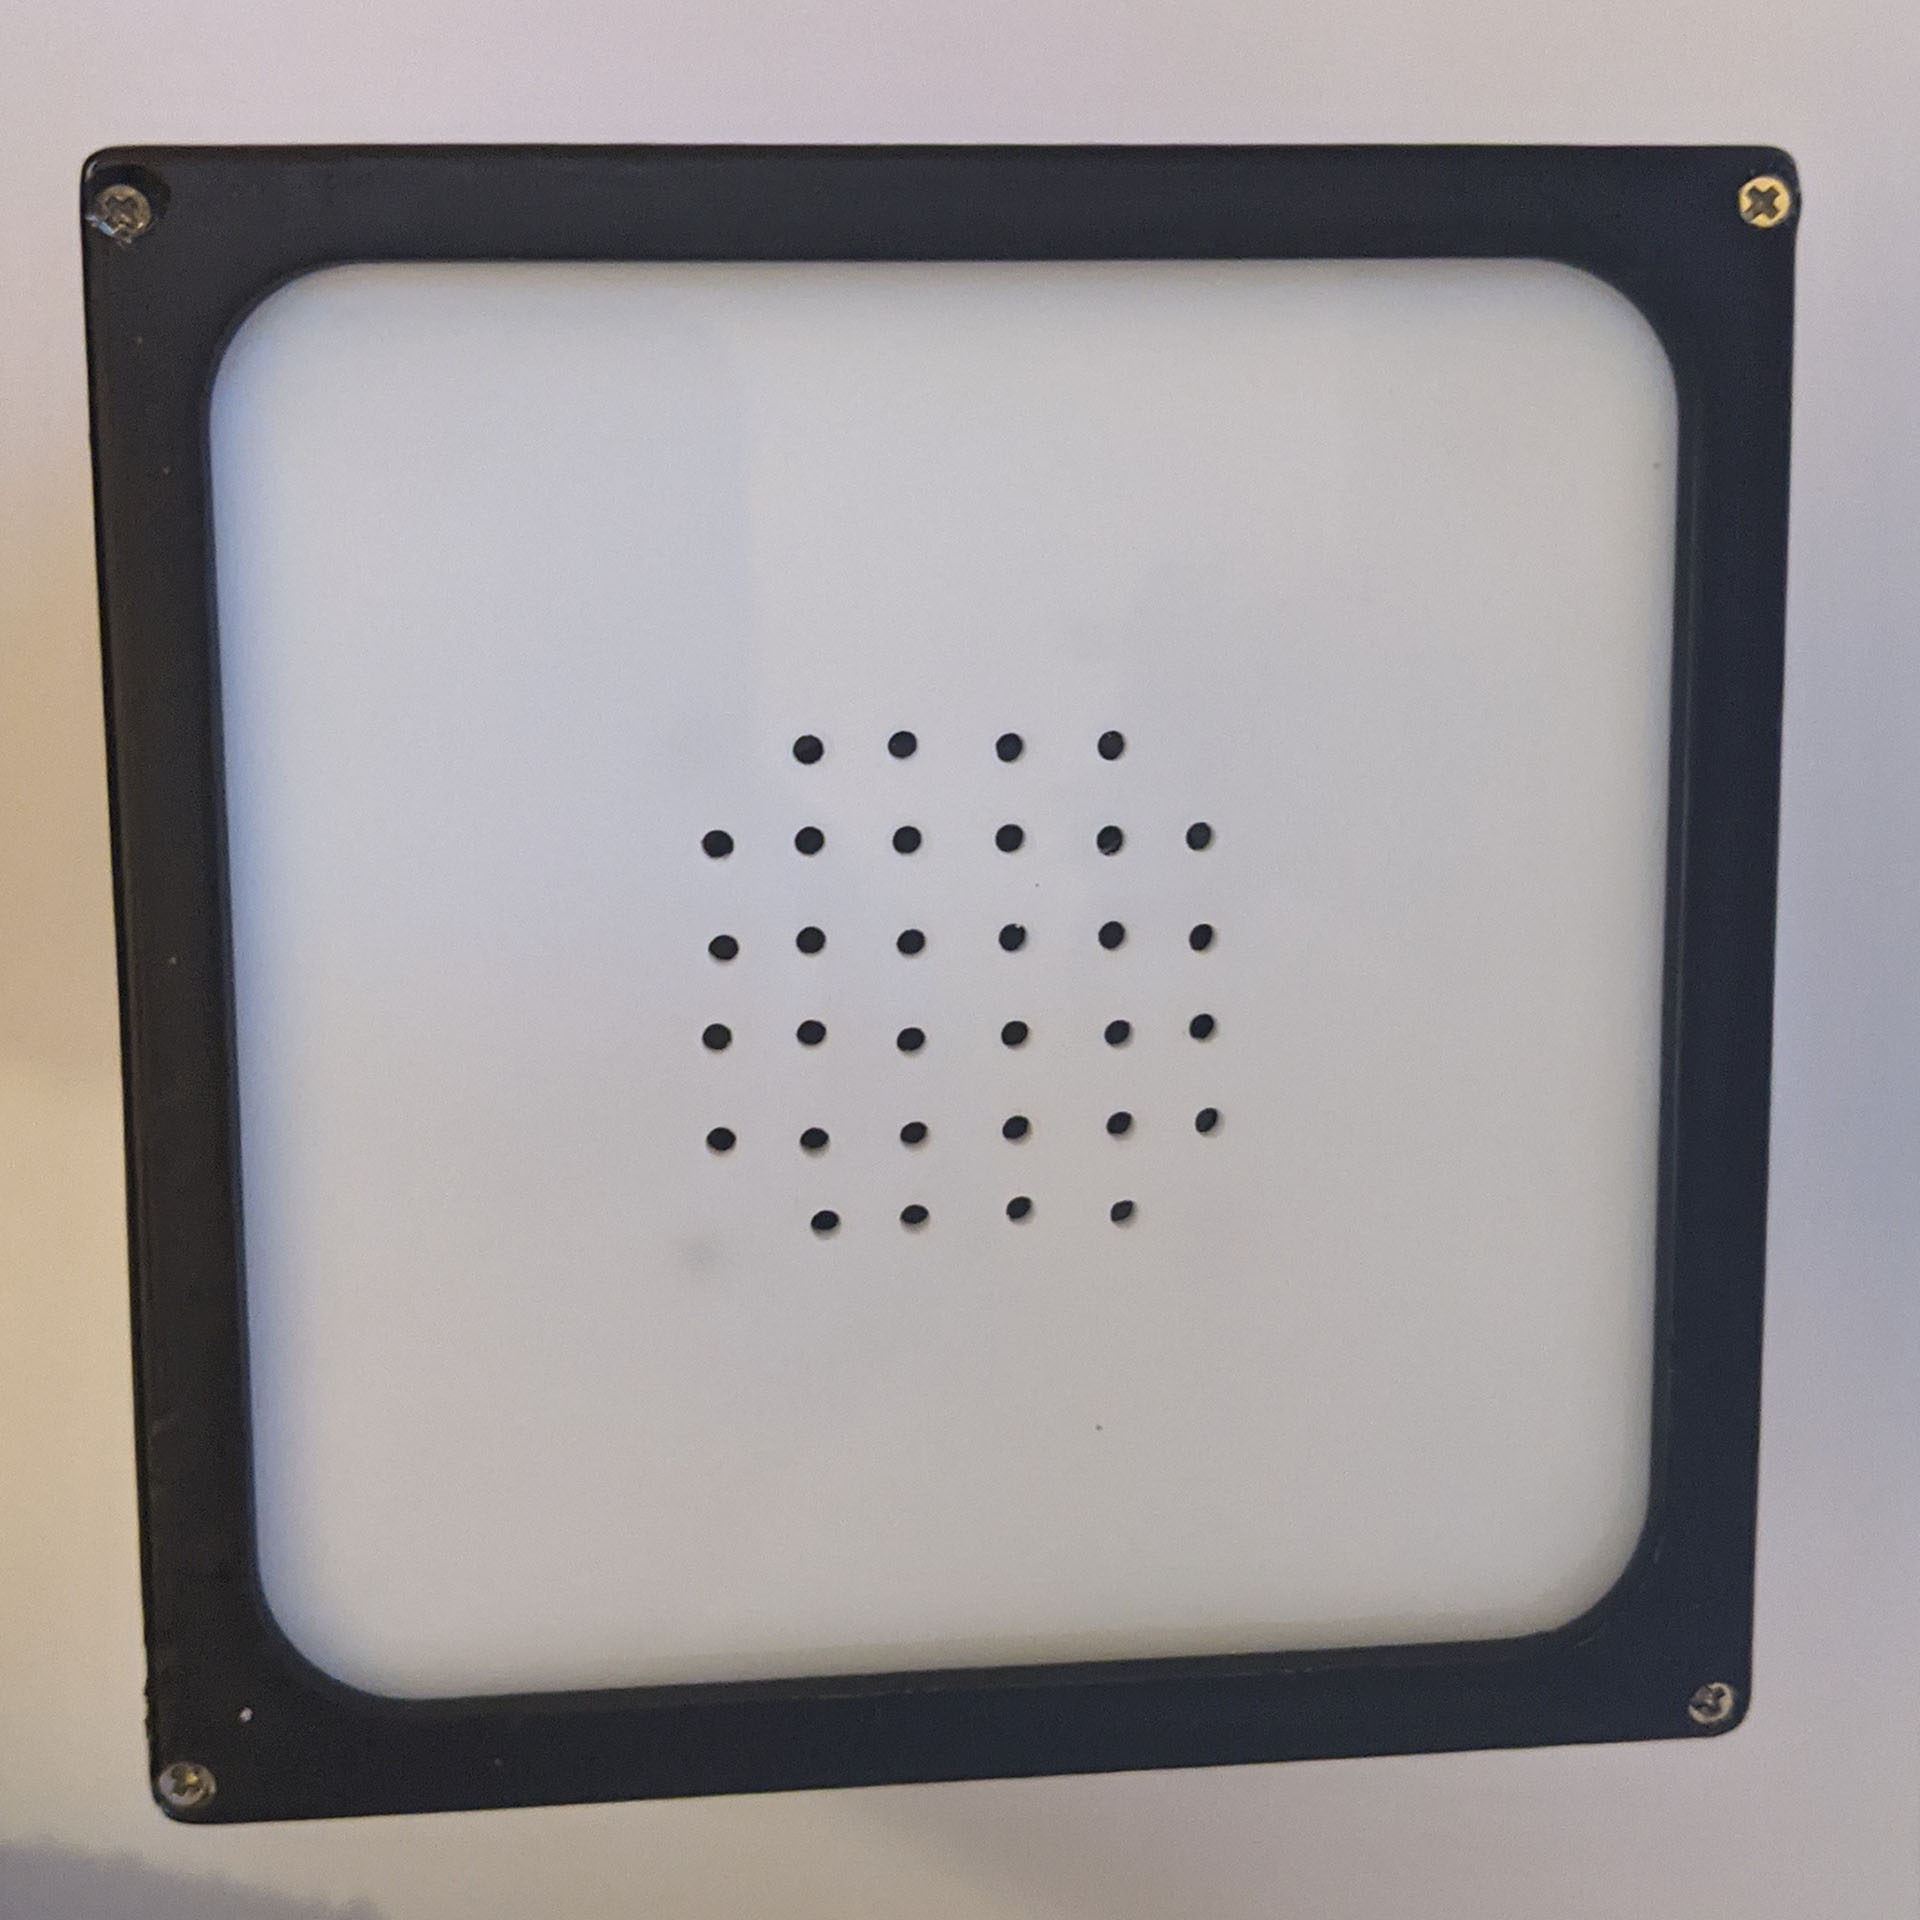
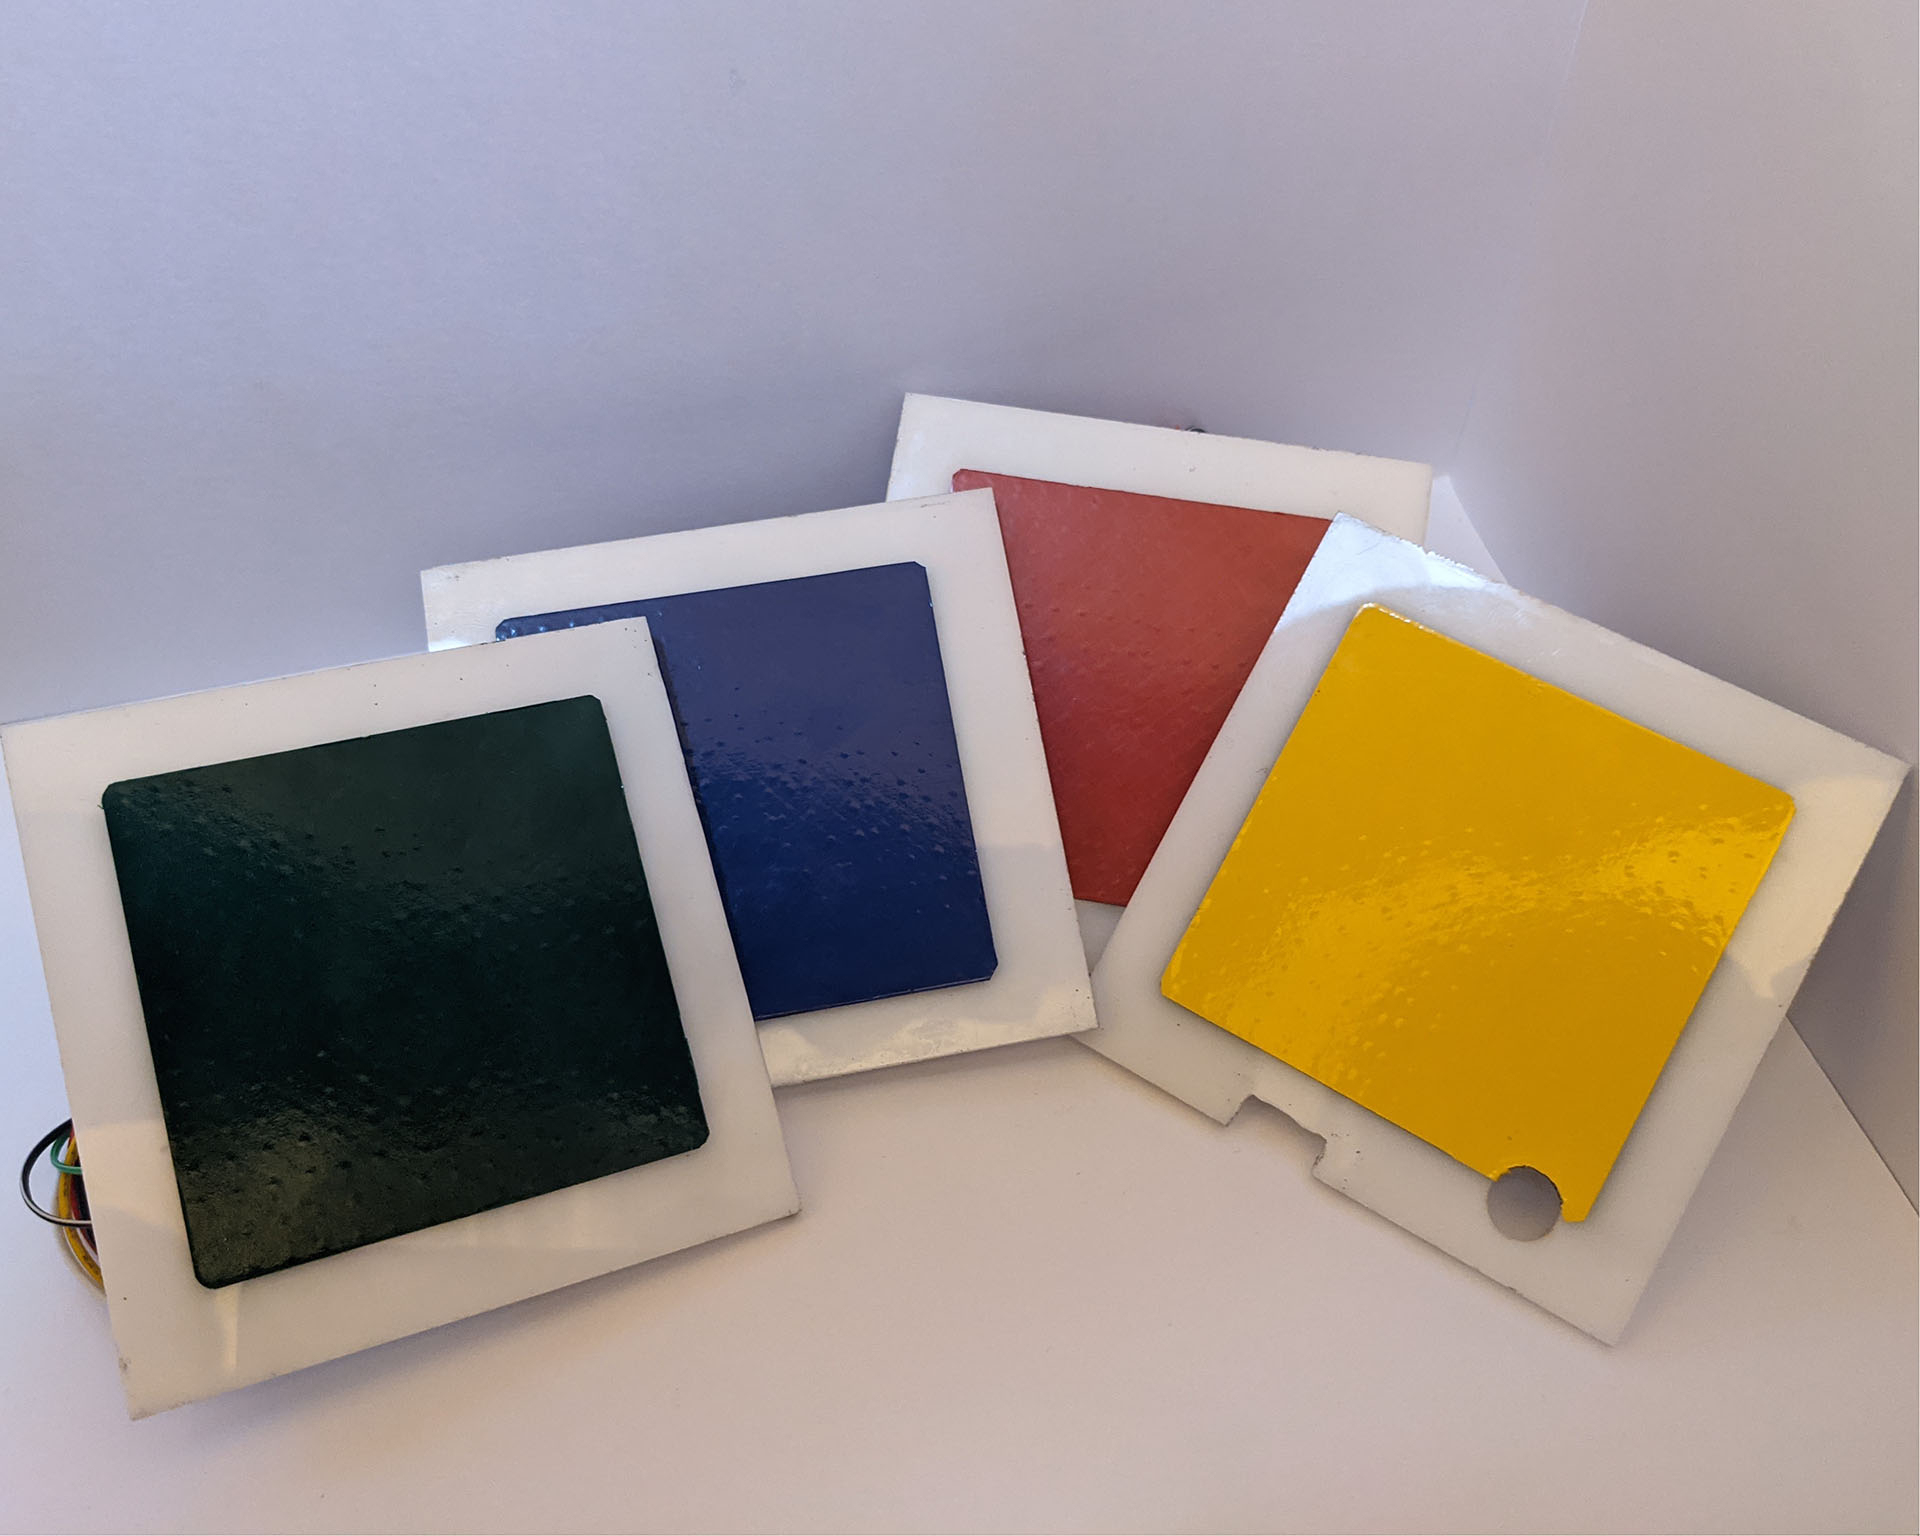
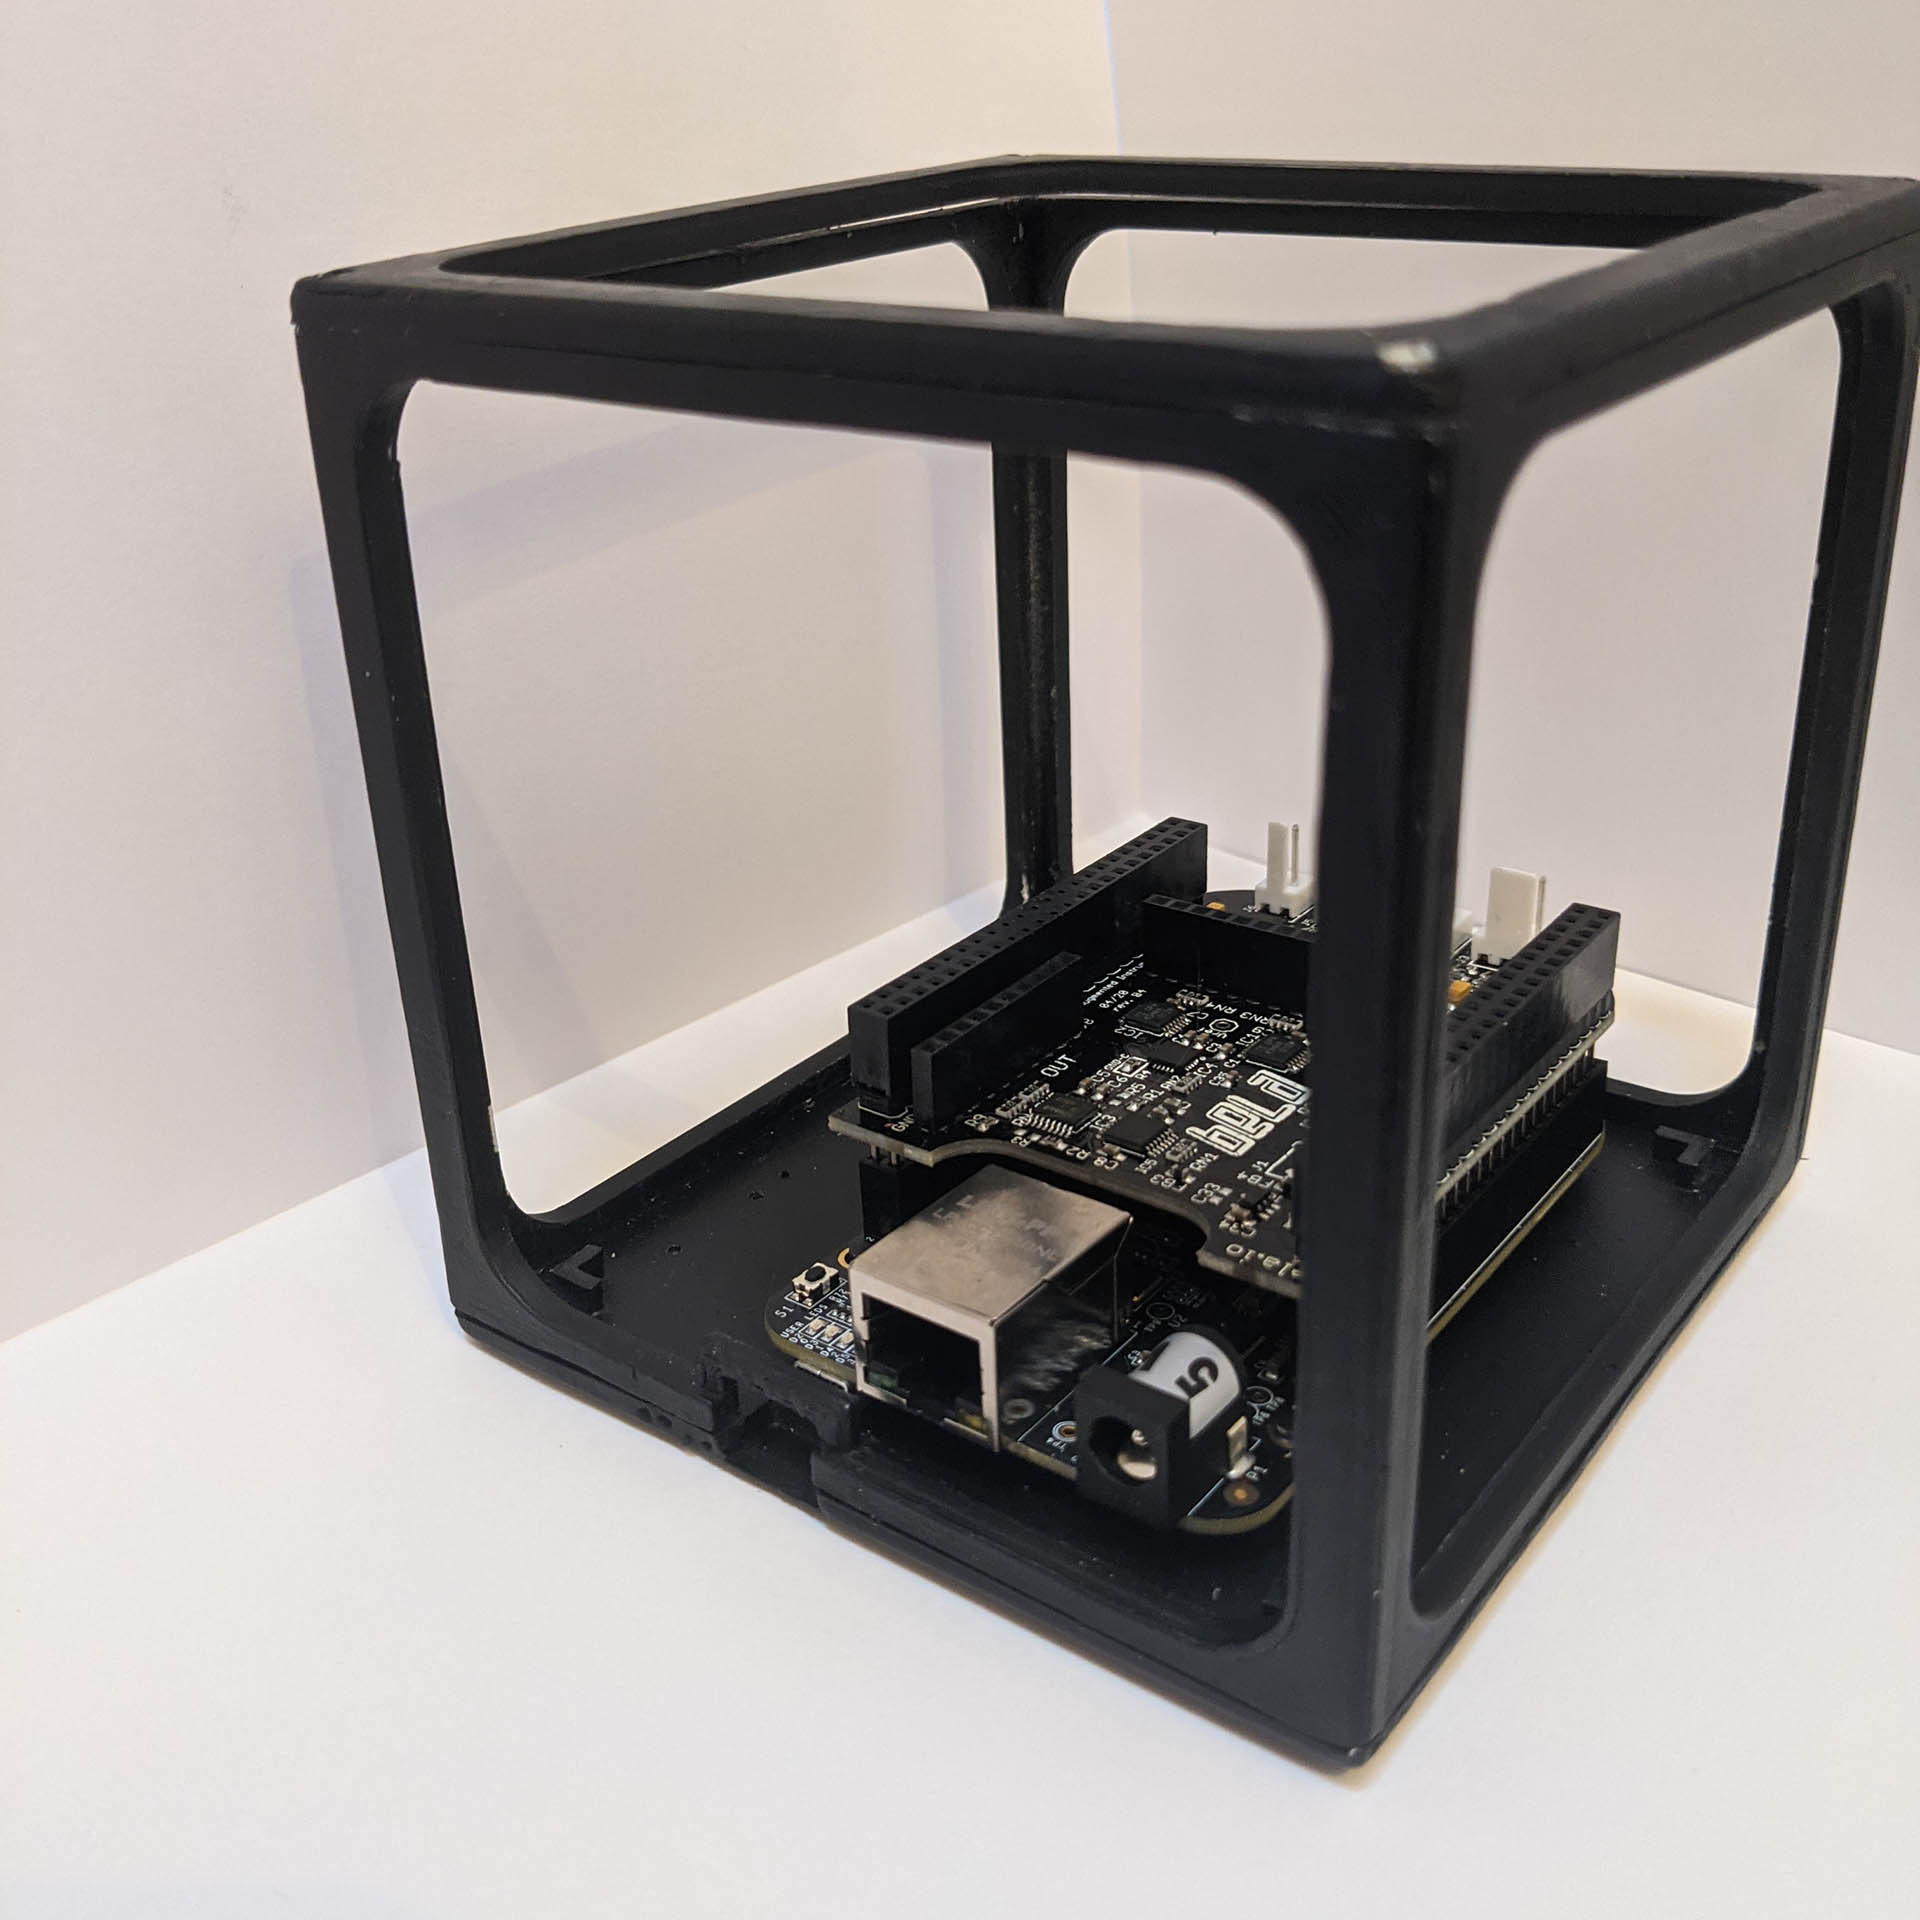
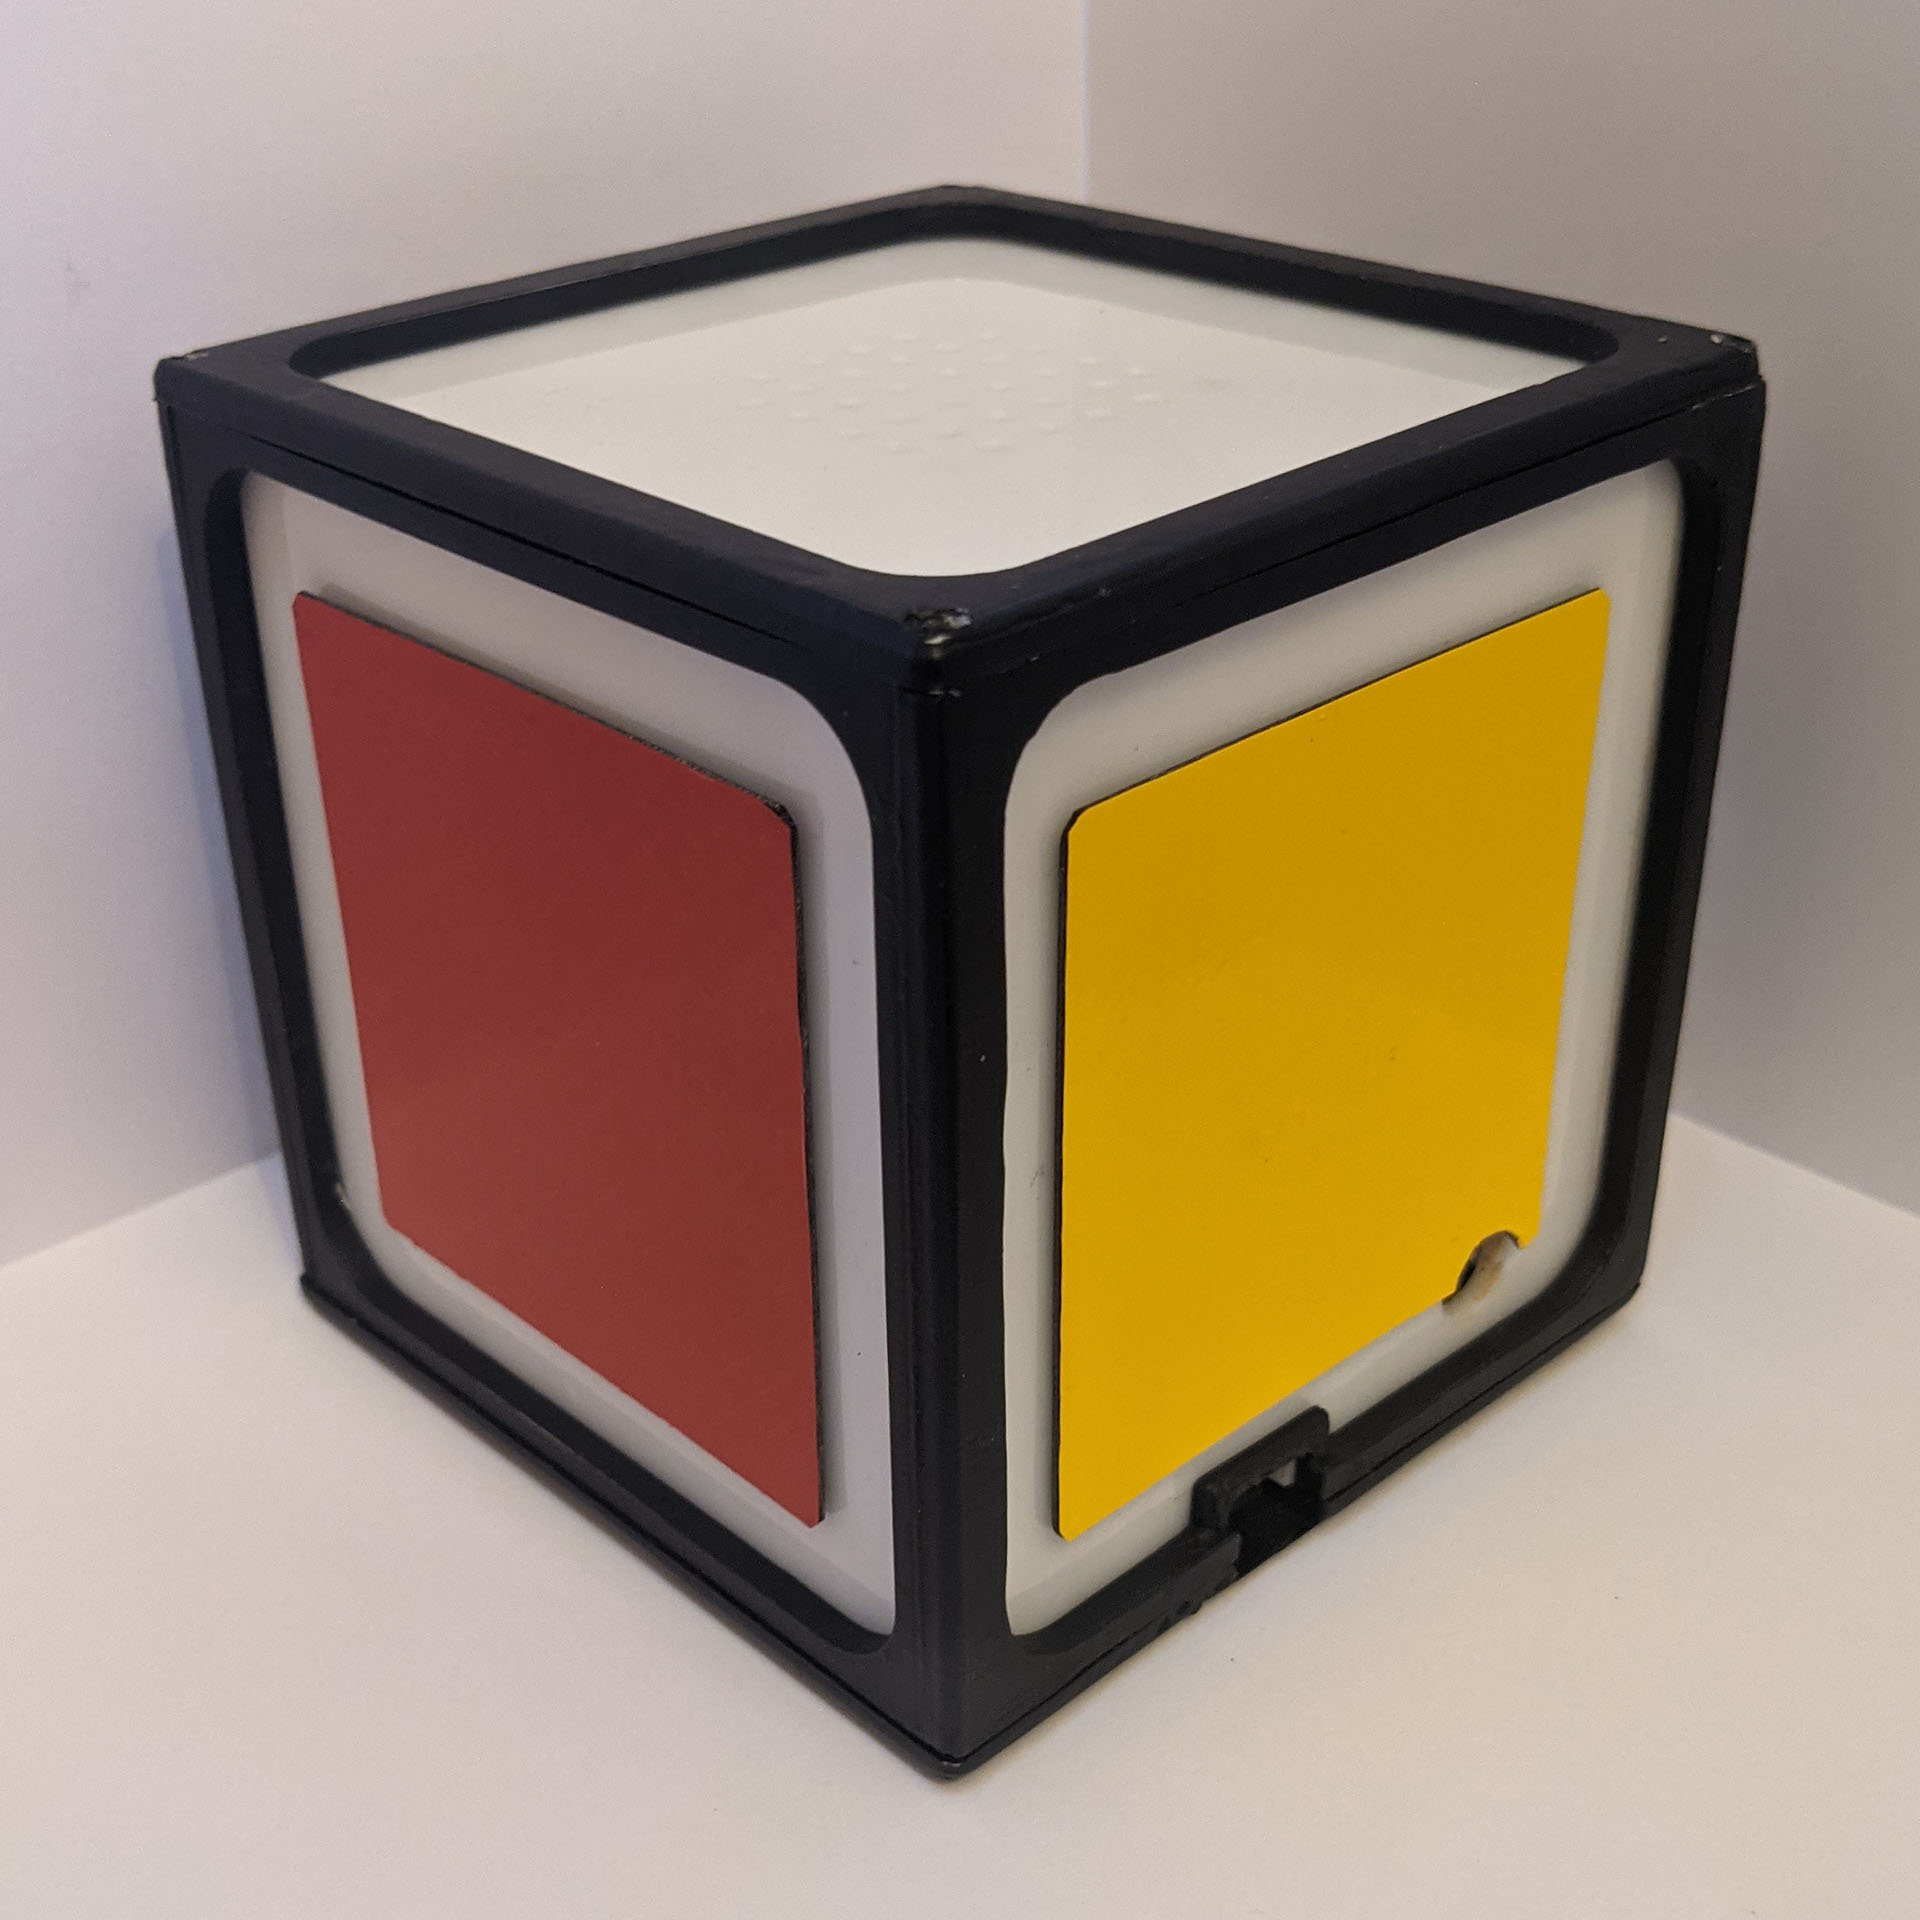
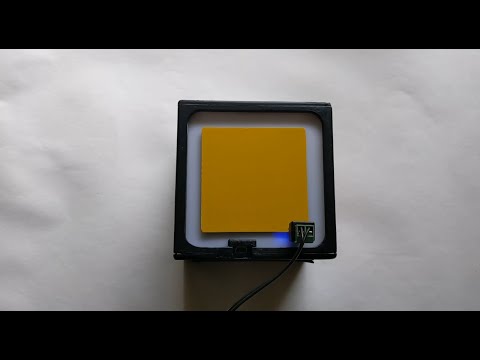
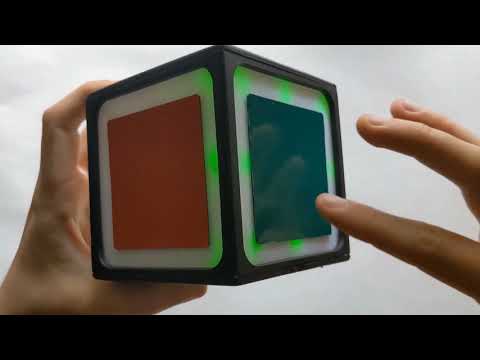
The aim for this project was to create an expressive and educational digital musical interface. Using research into other expressive digital instruments, a device was created that combines the use of audio, visual and haptic elements to provide the user with an expressive musical instrument enabled with additional non-sonic feedback. The resulting device is an adaptable digital musical instrument that can be programmed to behave in a variety of ways.

For this project, I was awarded the Andrew Grant Bequest for Music Technology Project.

Introduction

For my project I set out to create an interactive musical controller that could aid the musical education and expression of young children. There are similar existing products that have been built for this same purpose, however, in many of these products, there was not a way of providing non-sonic user feedback.

On a conventional musical instrument, like a guitar, there are non-sonic cues, such as the sensation of the instrument’s vibration or the sight of a moving string, the performer can use as information on the sound being generated. Many digital instruments simply generate the sound without providing non-sonic feedback (in the way of visuals or haptics) to indicate that a note has been successfully activated. This was something I wanted to explore in my own device.

With this in mind, the project was broken down into a list of aims for the end device:

1. The device must be accessible to children and to people who do not possess the strength to play conventional musical instruments.

2. The device should be designed to be played with some degree of musical expression, both sonic and visual.

3. The device should introduce musical ideas to children – like rhythm and musical gesture - that would be useful to them later in their musical education.

4. The device should make use of visual and haptic elements to instantly and non-sonically communicate information with its user.


Example Uses

With the ability to generate sound as well as calling upon visual and haptic elements anywhere in its code, the device is very customisable. Here are a few ways in which this device can be programmed to operate:

Drum Demonstration
Single Event Trigger

At its most simple level, each sensor can act as a single event trigger. This does not make use of the sensors’ full capabilities, but for a child beginning to learn to use this device, it is a simple way to begin. A simple drum instrument is probably the best way to demonstrate this.

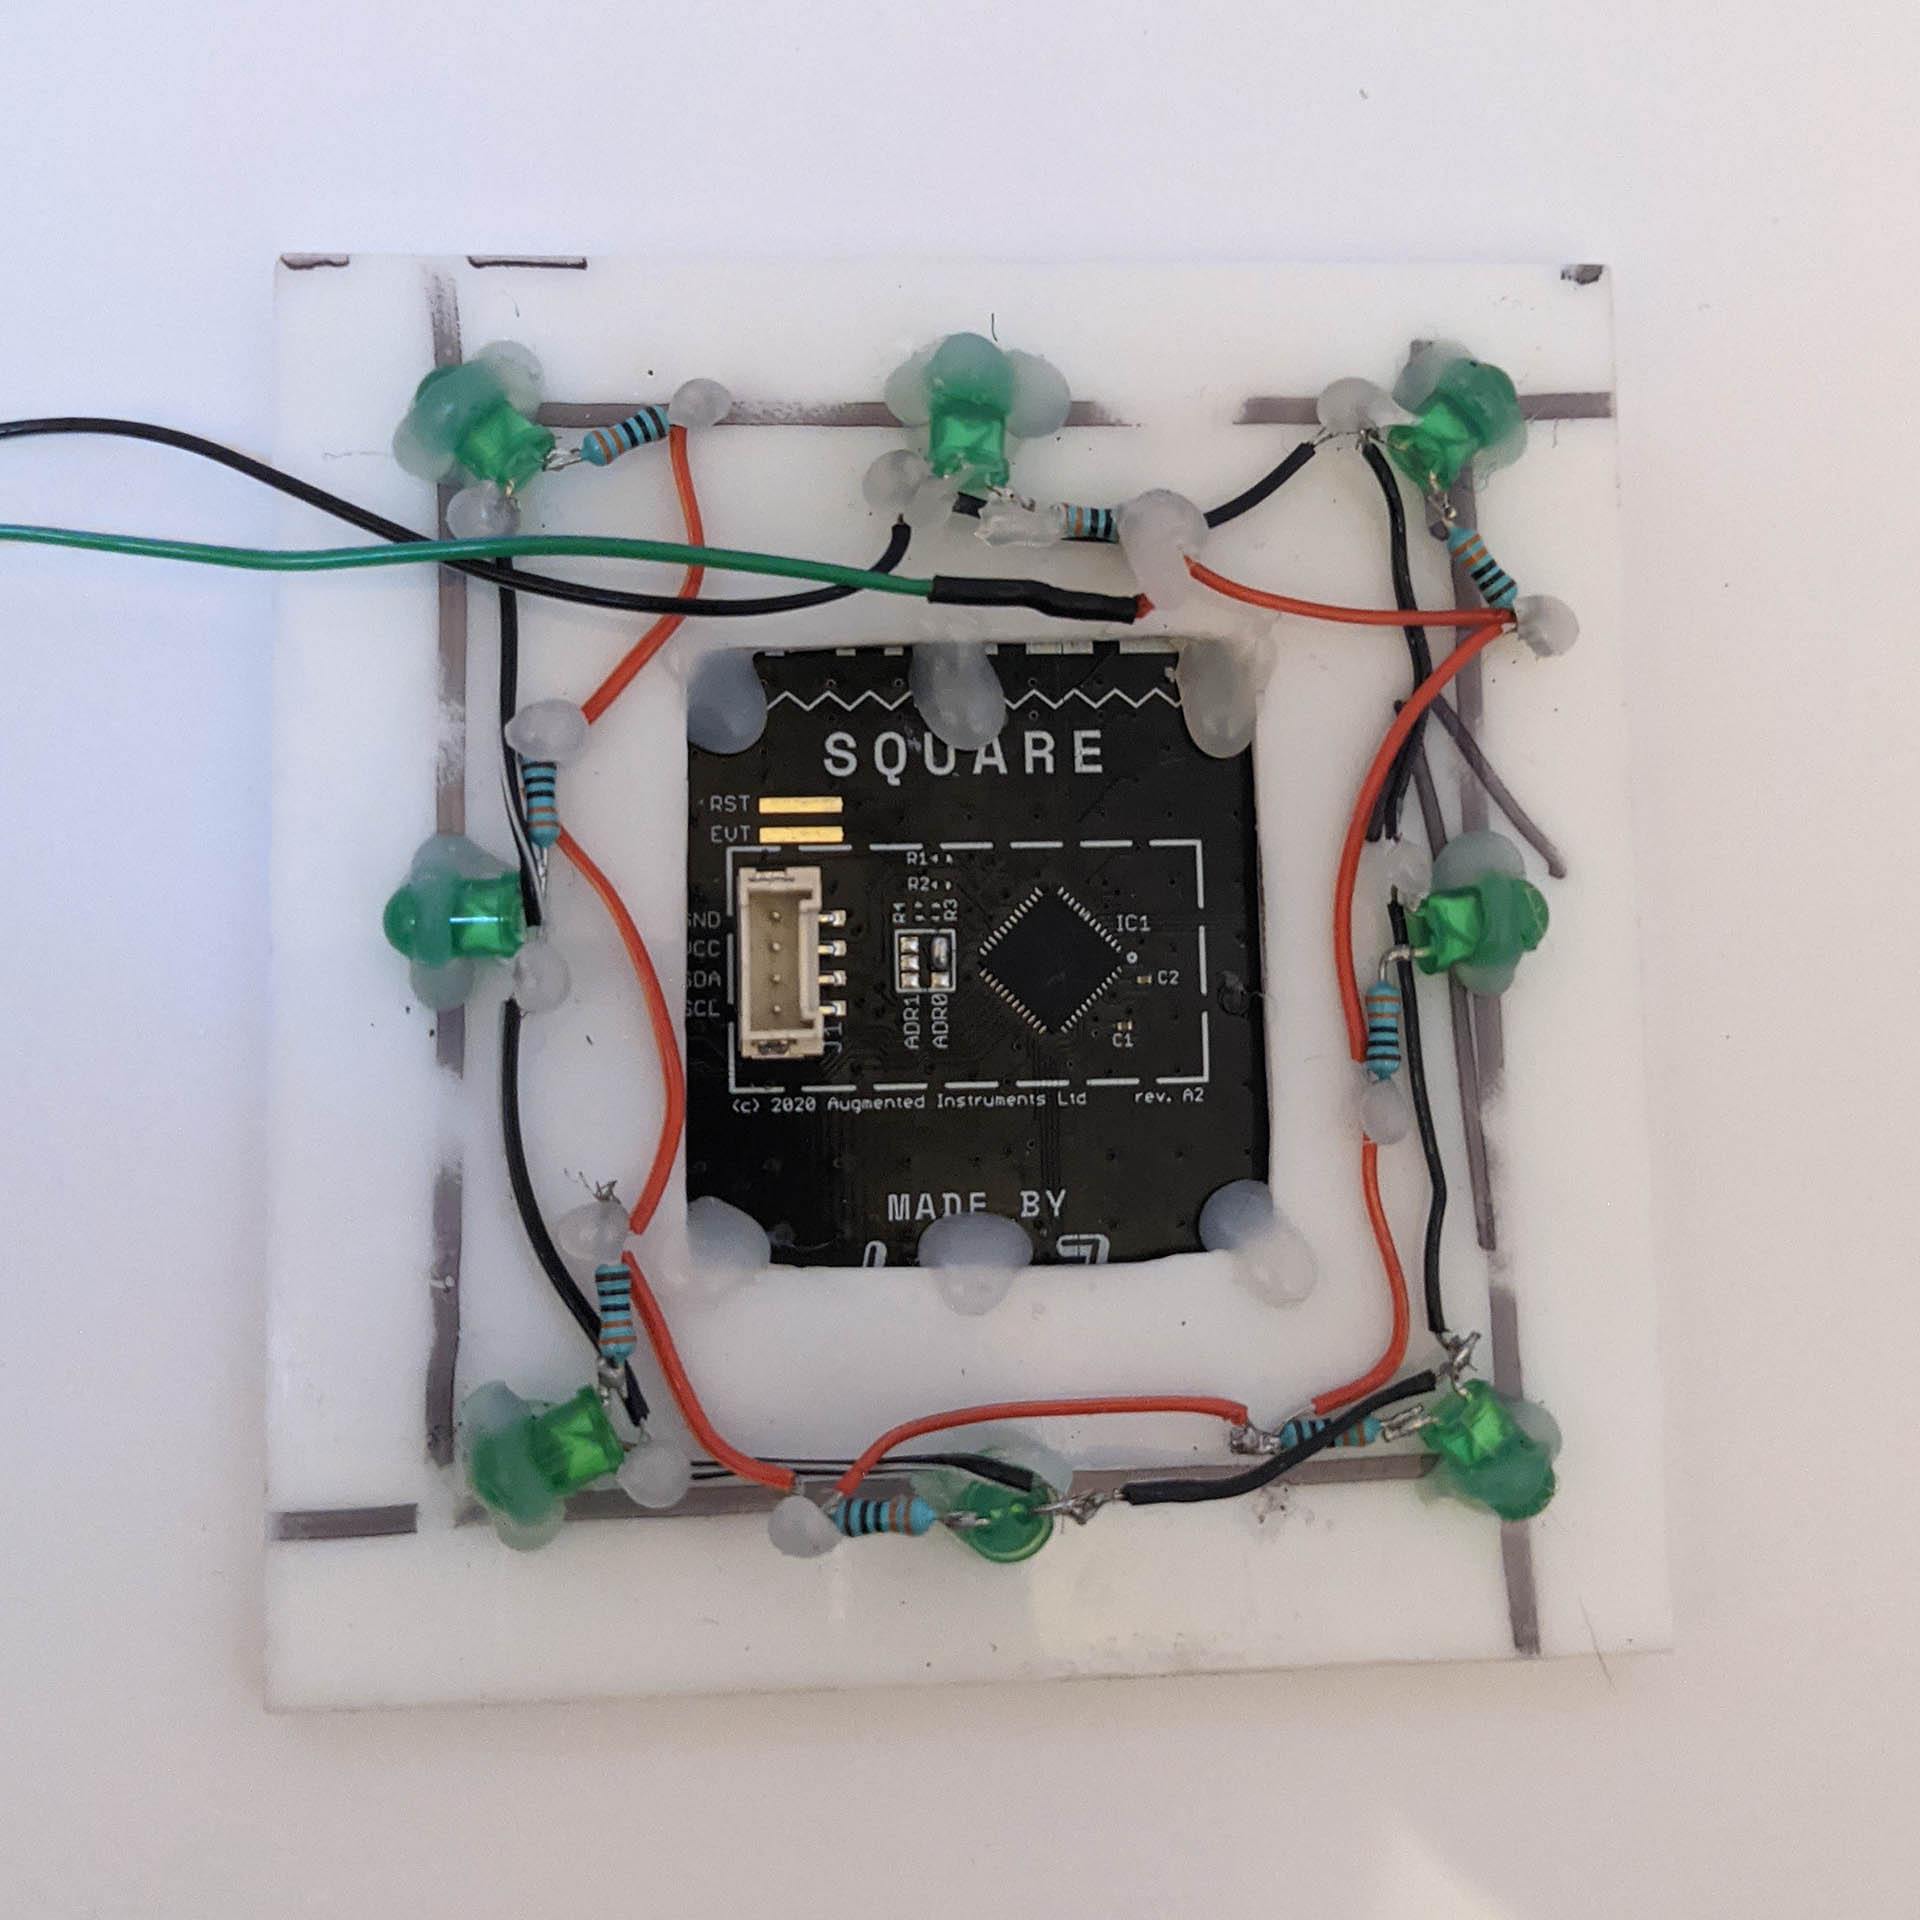
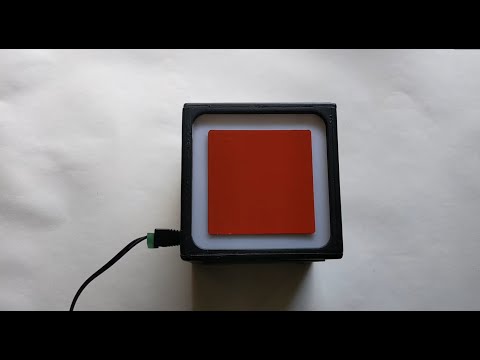
Audio samples are loaded onto the device and programmed to trigger at the touch of a sensor. When a sensor is touched, the LEDs and vibration motor attached to the same panel generate a pulse so the user can hear, see and feel that a touch has been registered on the device.

Although this demonstration uses drum samples, this technique can be used to trigger any audio samples - providing it can be uploaded onto the Bela board.

Strum Demonstration
Haptic Shapes

There are no frets or bumps on the surface of the sensors to use as haptic reference points when running your finger across its surface. The vibration motors on the back of each panel can be used to provide these haptic landmarks artificially.

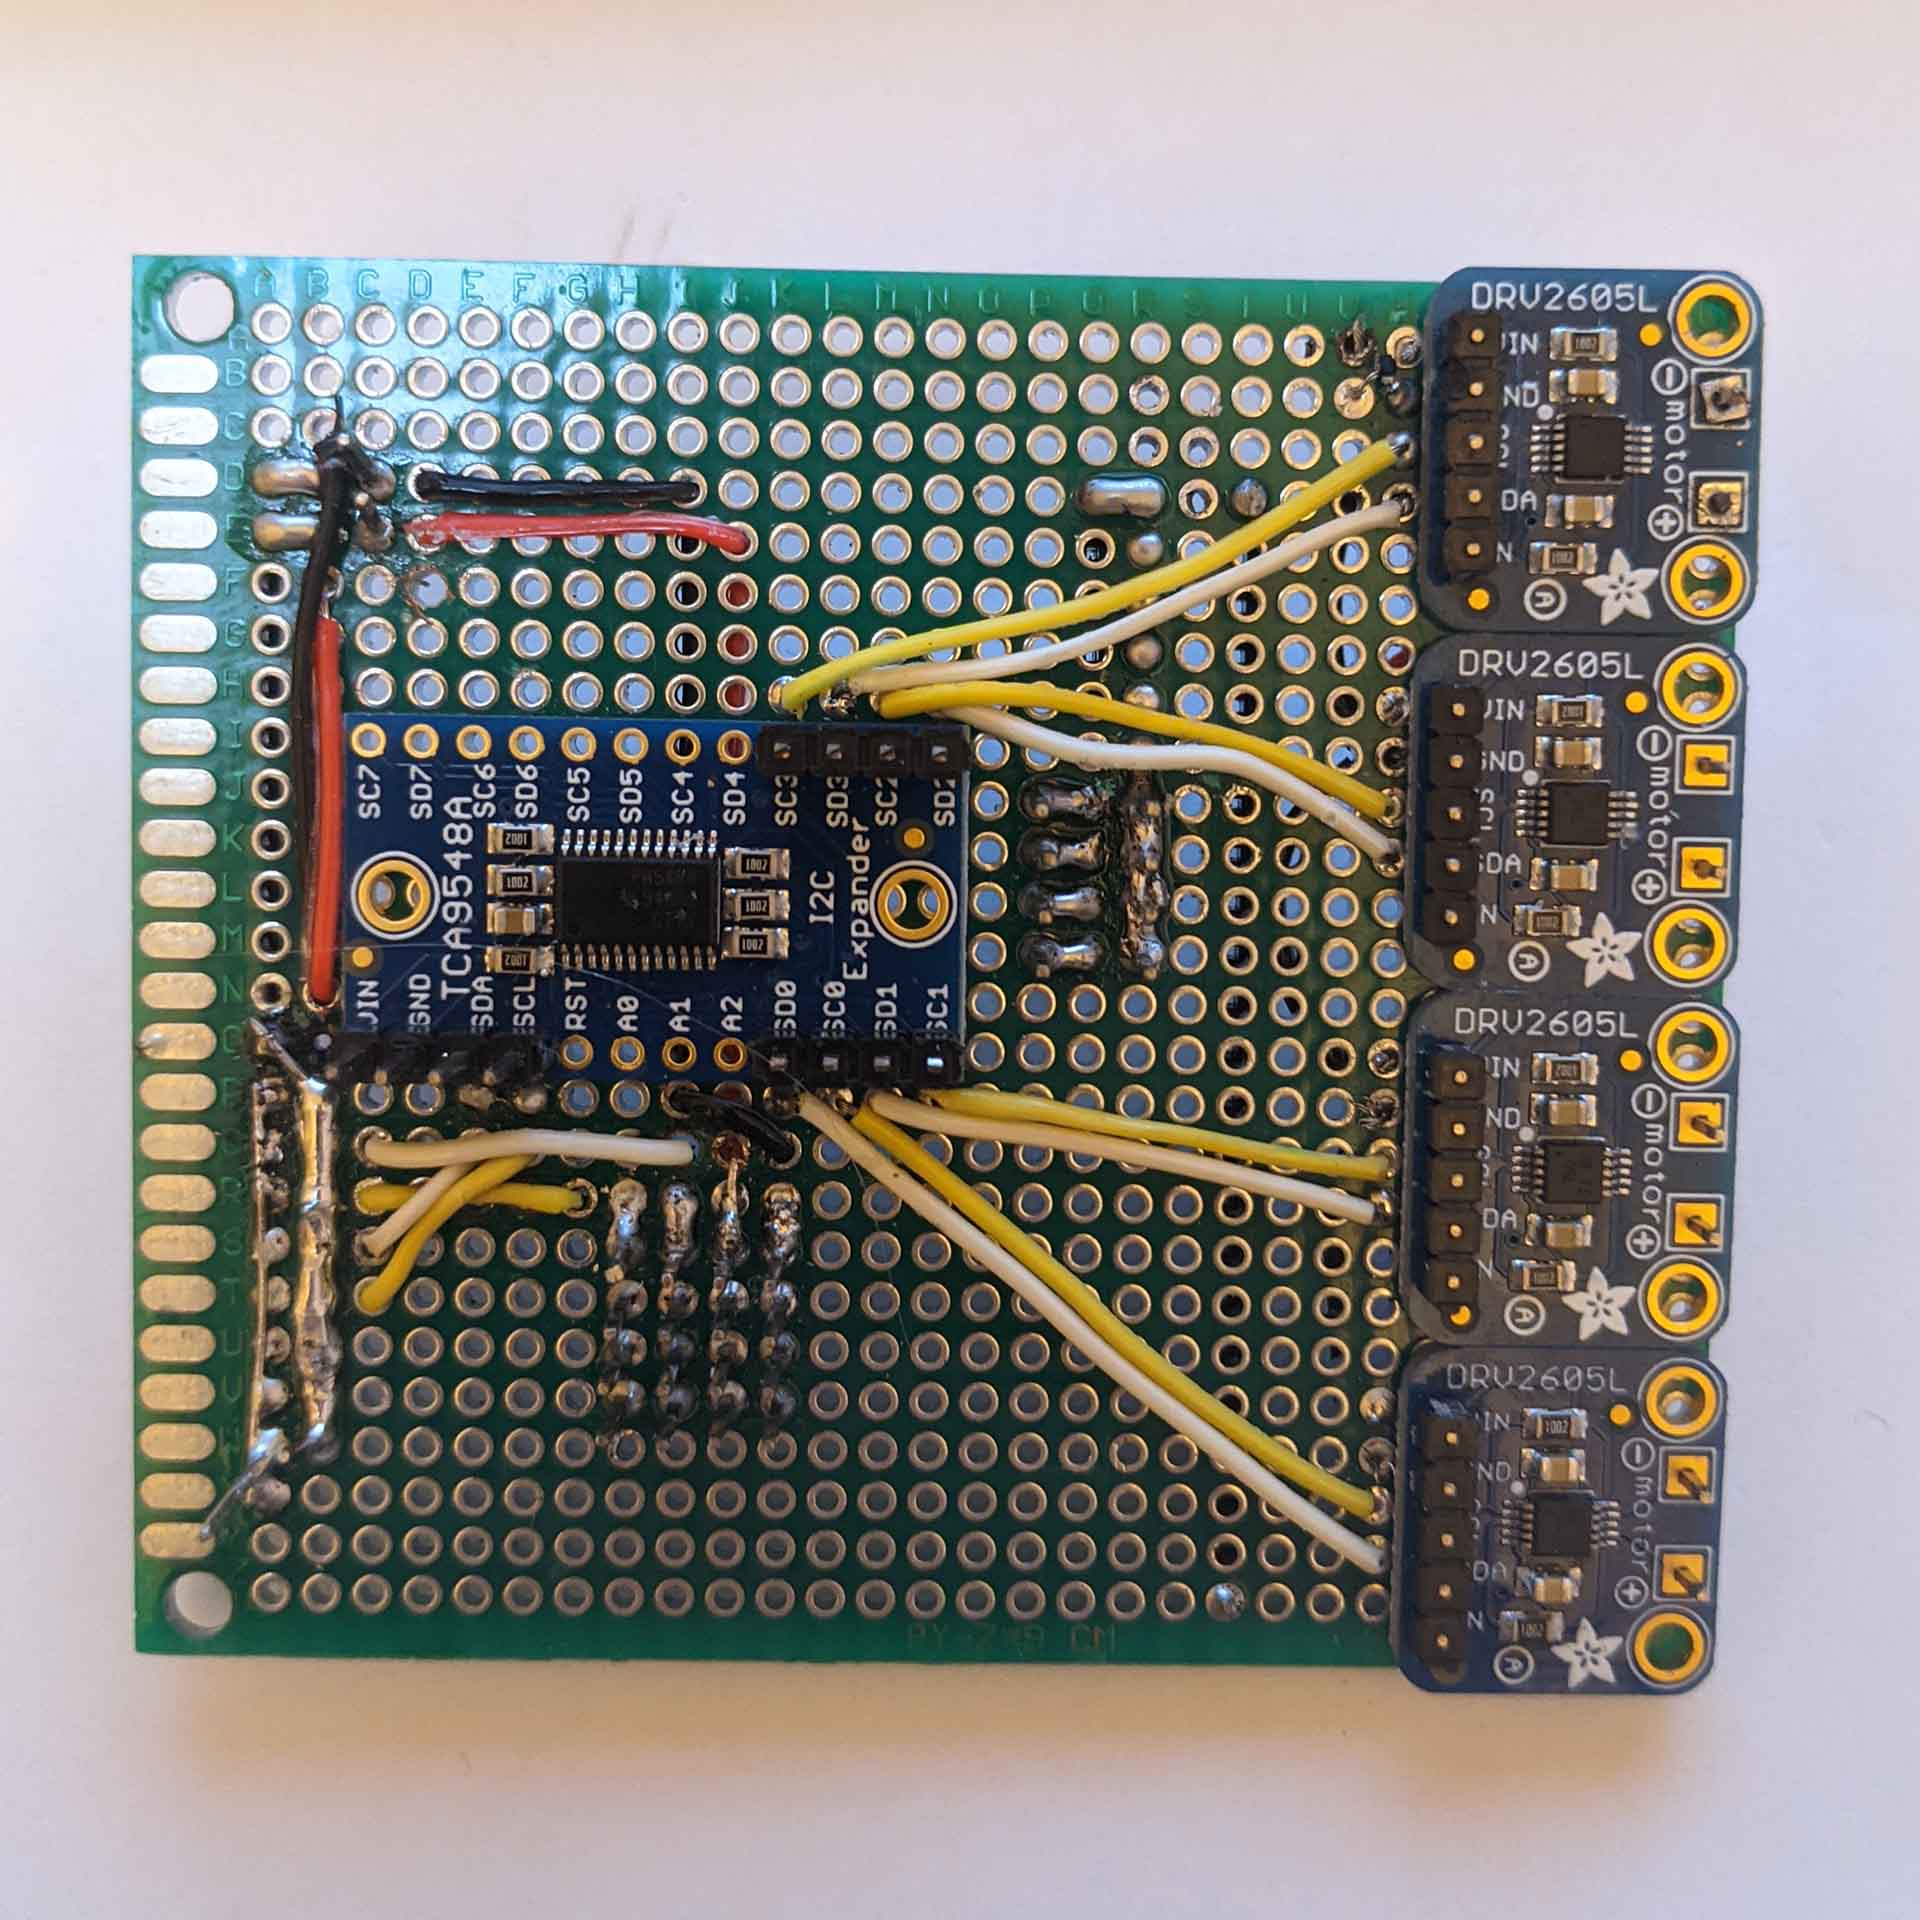
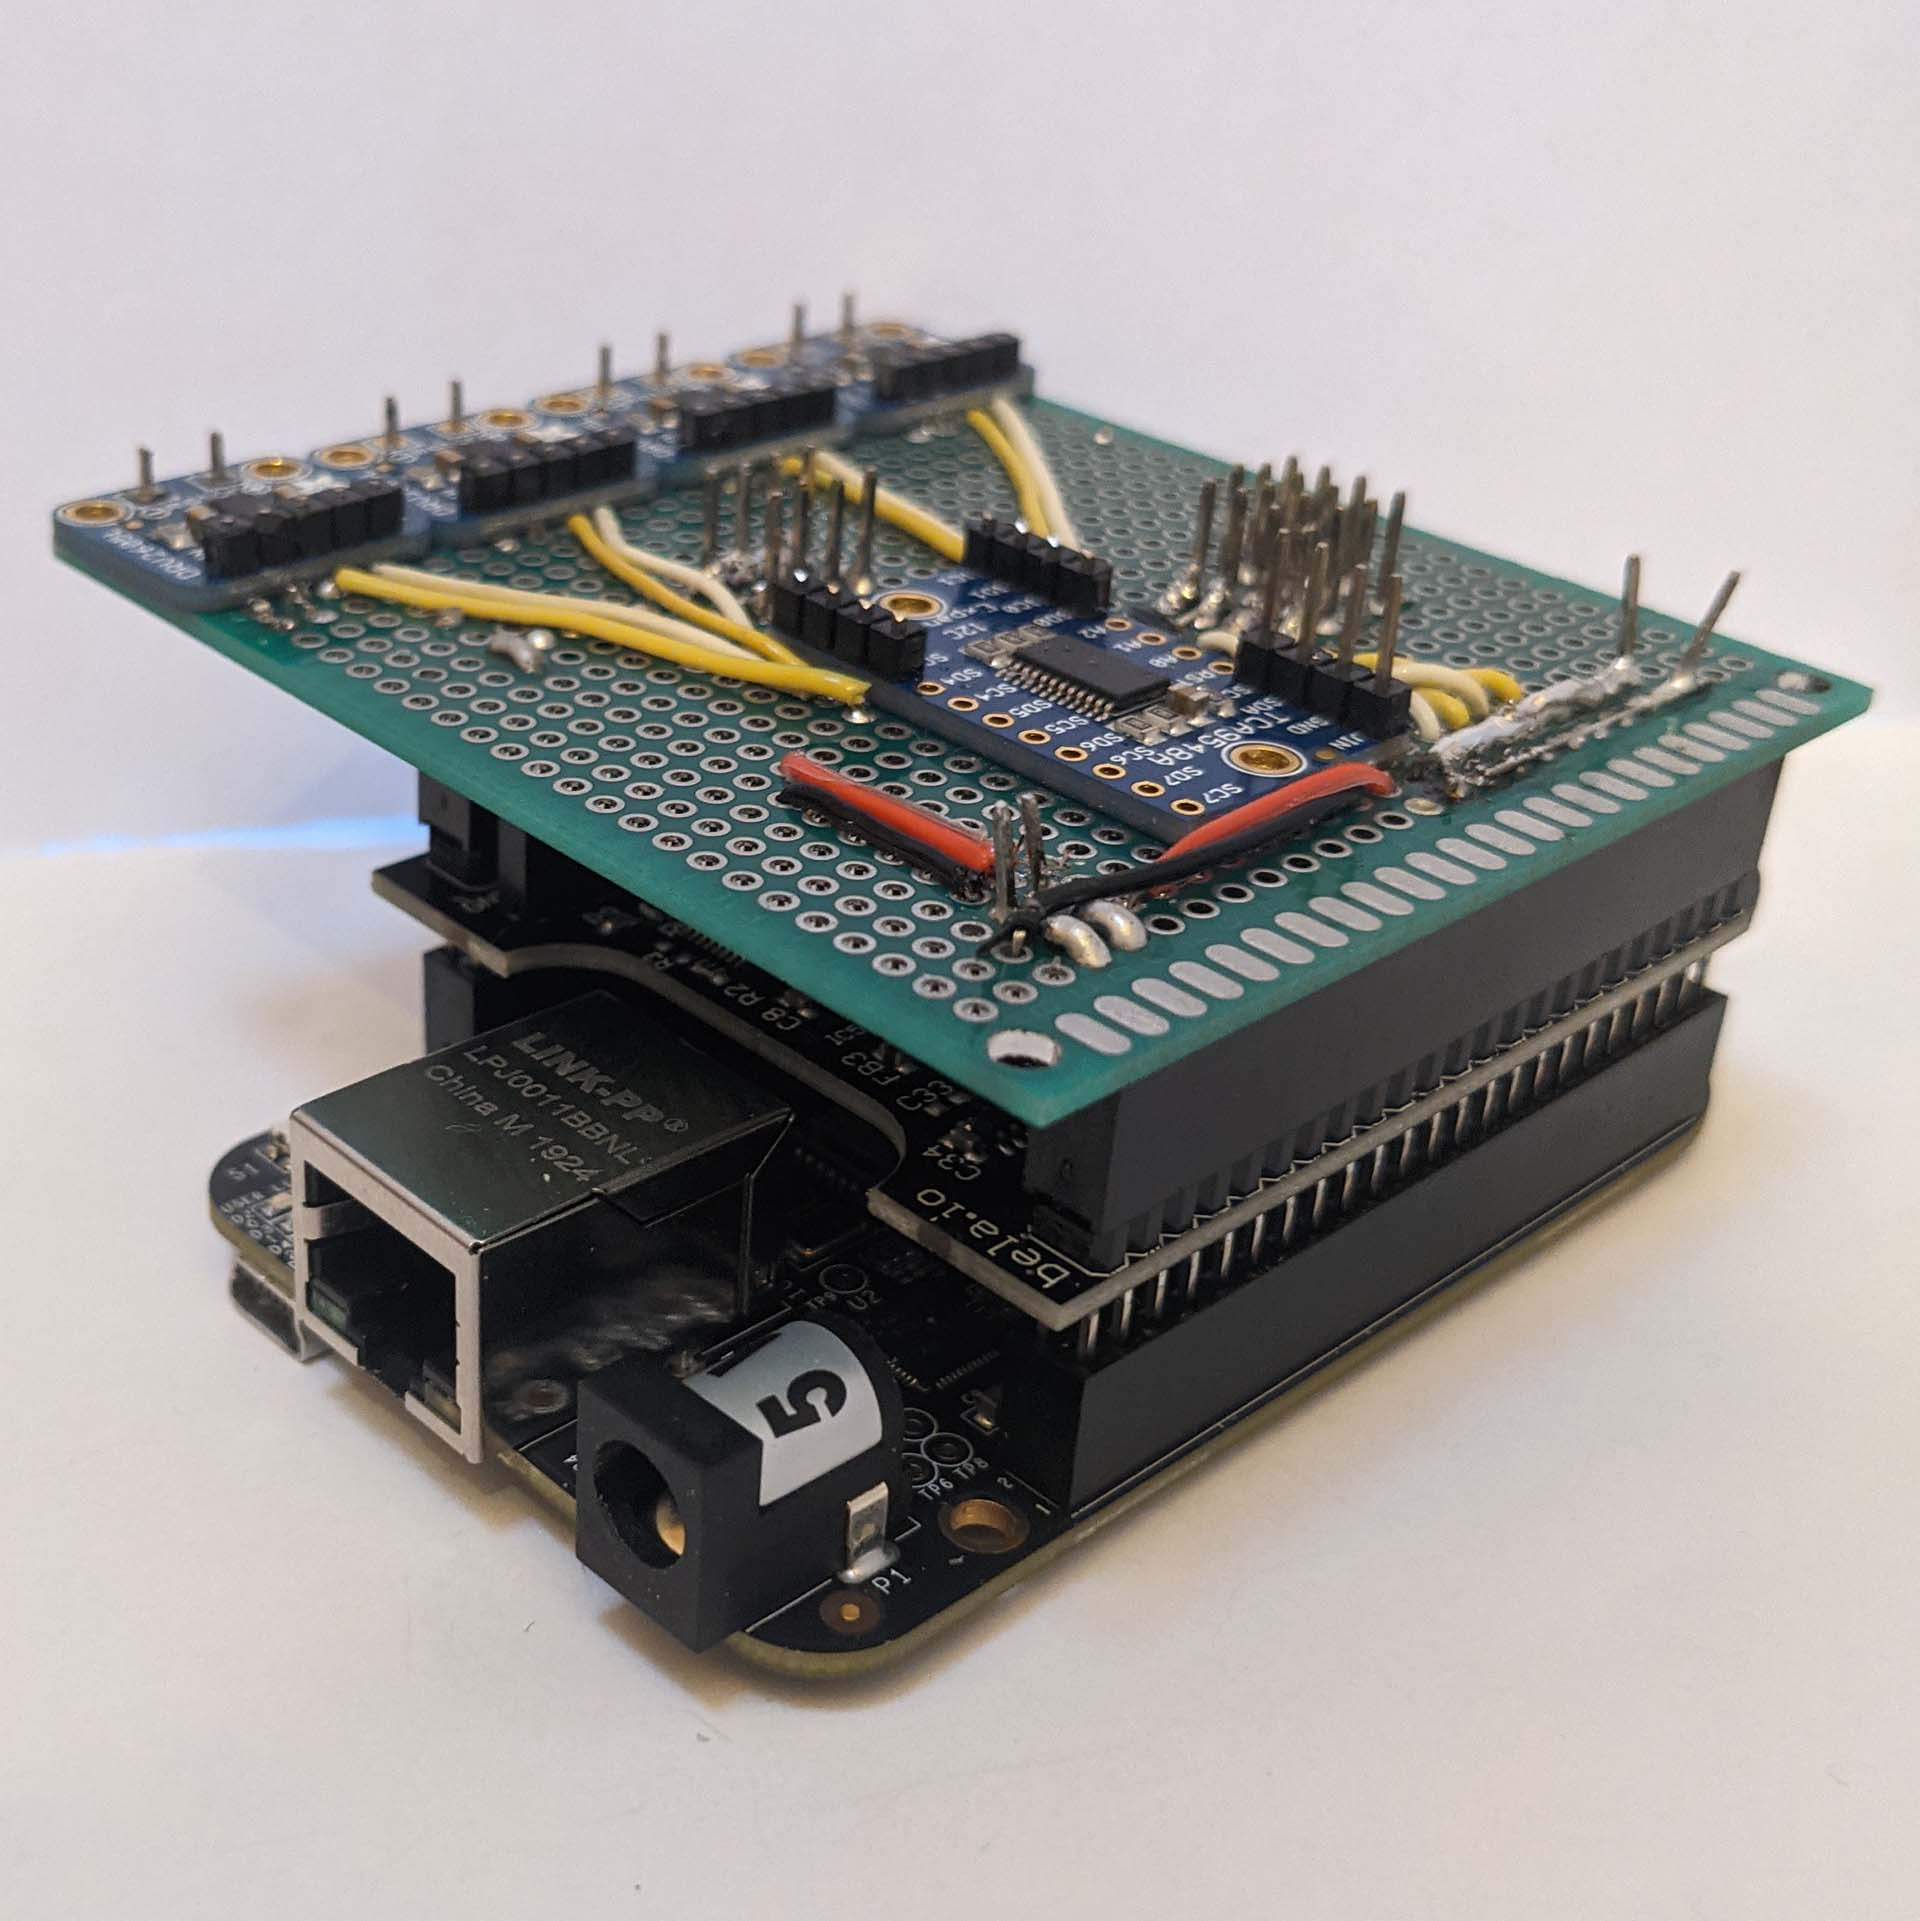
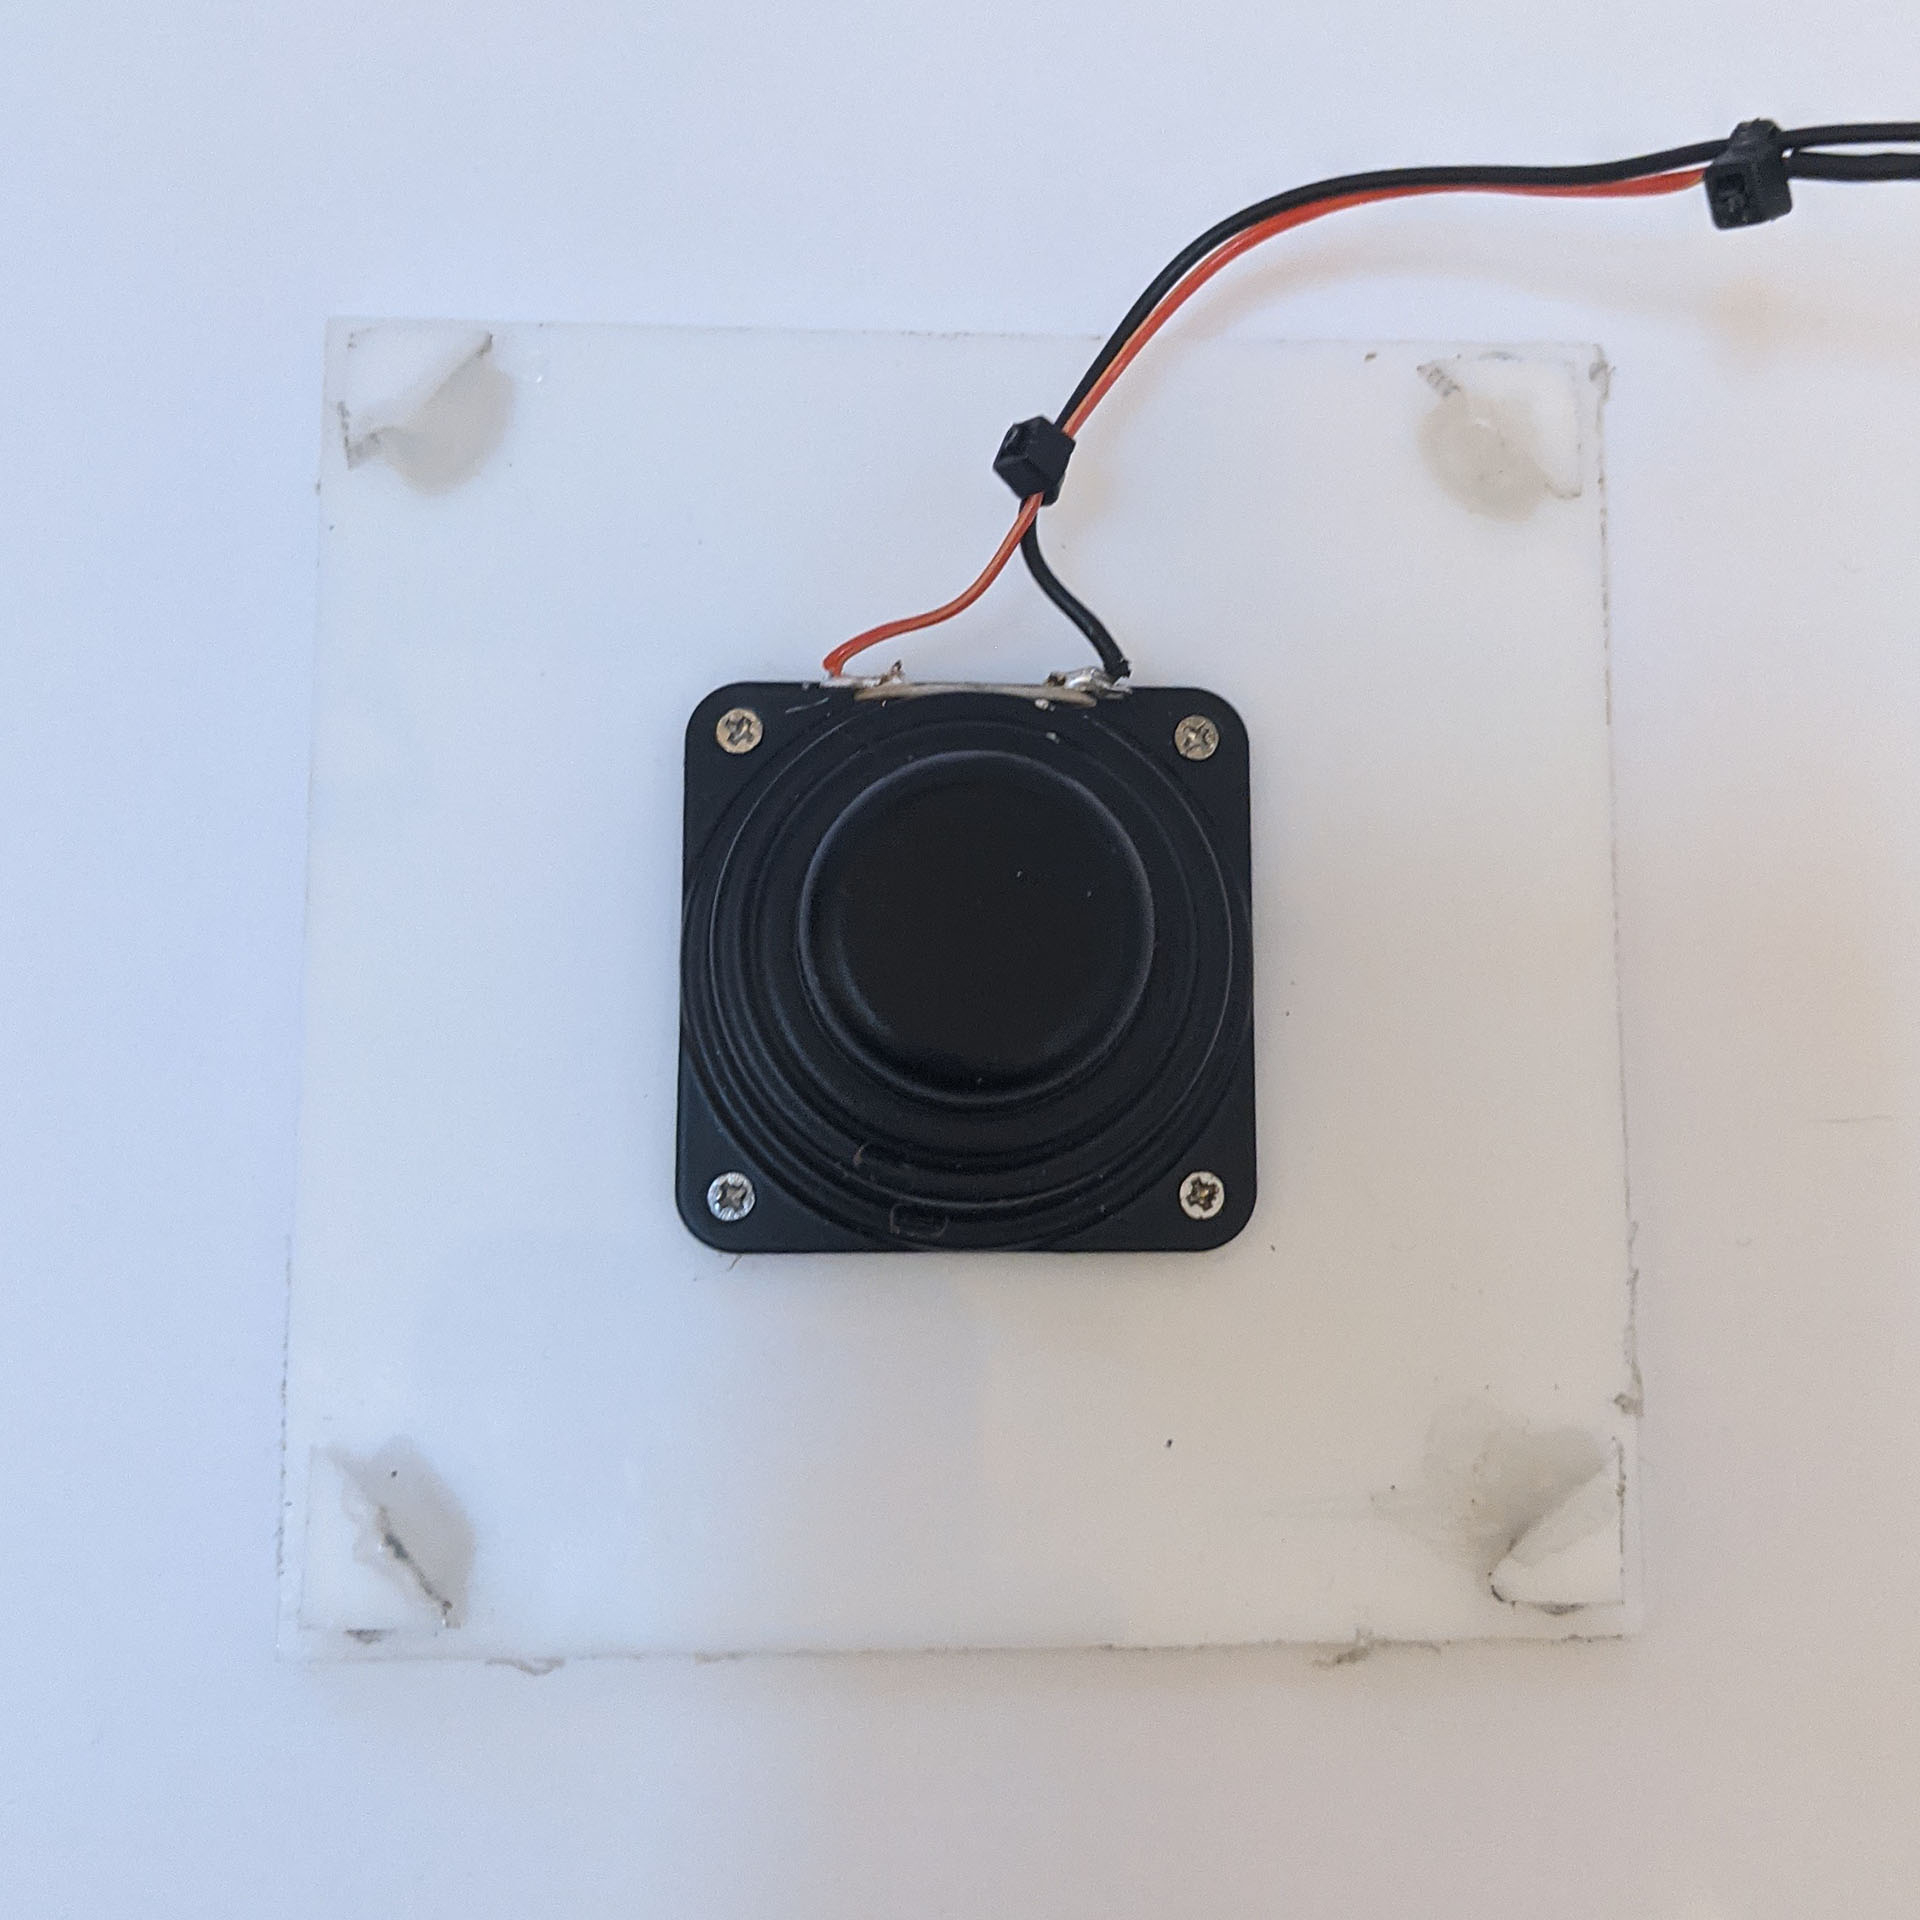
The device makes use of ultra-responsive Linear Resonant Actuator (LRA) vibration motors to provide a haptic output. These are the same type of motor used in smartphones to generate realistic 'click-like' vibrations. The device uses them to create trigger points and boundary lines that, when crossed, generate a click and create a haptic map across the sensor's surface.

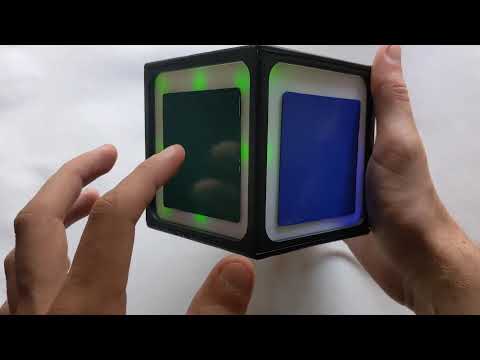
One use for this is to create invisible 'strings' across the surface which trigger plucked string sounds. This essentially turns each panel into a digital, strummable guitar. In this example there are four 'strings' across each sensor that generate a plucked string tone, a click and a pulse through the LEDs on the corresponding panel.

Stroke Demonstration
Speed Control

For an expressive musical instrument, speed is and important parameter to reflect in the programming of the instrument. This allows the user to explore the relationship between physical gesture and musical sound in a more accessible way than with conventional instruments that require more strength and training.

It could be used in combination with the previous example to control the volume of each 'string' pluck, however, for this example I have used it to create a bowed-string instrument.

In this mode, faster movements generate a louder more intense string sound. This also allows for the possibility of vibrato-like control over the device, as demonstrated in the video.

More Information

If you are interested in learning more about the inspiration and process that went into creating this device, you can watch my full 15 minute presentation below or read my dissertation (approx. 4000 words), the link for which is on the title page. Alternately, you can contact me via my email address joehathway99@gmail.com.

Creating a Digital Musical Instrument For Children - Full Presentation

Joe Hathway

Creating a Digital Musical Instrument for Children's Expression and Education